Expert Deck Sanding Tips Every East Barnet Homeowner Should Know
As the days shorten and the familiar chill drifts across East Barnet’s leafy back gardens, the humble timber deck becomes a silent sentinel—bearing the brunt of wind-driven rain, sub-zero evenings, and persistent damp. A neglected surface quickly warps, cracks, and turns that gloomy shade of greenish-grey we all dread. Yet with one strategic intervention—deck sanding—you can transform tired planks into a resilient, weather-proof platform that will laugh in the face of a British winter.
In this in-depth guide we’ll unveil industry-guarded deck sanding secrets, demystify finishes, and give you a professional step-by-step process tailored to East Barnet’s unique micro-climate. Whether you’re a seasoned DIY enthusiast or a homeowner seeking the inside scoop before calling the experts, you’ll finish this article equipped to protect your timber in style.
The High Stakes of Skipping Winter Prep
- Rot & Fungus—The Silent Destroyers
Exposed wood fibres absorb moisture. Fungi then colonise the damp, breaking down cellulose and lignin until boards crumble beneath your feet. - Expansion, Contraction & Warping
Repeated freeze–thaw cycles force trapped moisture to expand, splintering the grain and twisting boards out of alignment. - Slippery Algae Layers
A neglected deck invites moss and algae, turning your patio into a skating rink just as festive guests arrive. - Diminished Property Value
Estate agents confirm that a rotten deck can shave thousands off a sale price in North London’s competitive market.
A single weekend of deck sanding and sealing is faster—and cheaper—than a full rip-out job come spring.

East Barnet’s Weather: A Micro-Climate Worth Knowing
While Met Office stats often lump North London together, East Barnet sits on a modest ridge where cold easterlies meet damp Atlantic fronts. The result?
- Average winter rainfall (Nov–Feb) tops 190 mm, saturating horizontal surfaces.
- Temperature dips hover around -1 °C to 5 °C, creating freeze–thaw stress.
- Frequent shade from mature plane and oak trees keeps decks wetter for longer.
Understanding these local quirks underscores why deck sanding paired with a premium sealer is essential—not optional.
The Science Behind Deck Sanding
Sanding isn’t merely cosmetic. By removing the silvery layer of oxidised fibres, you:
- Open the grain, allowing protective oils, waxes or varnishes to penetrate deeply.
- Level micro-grooves, eliminating puddle points where frost can bite.
- Expose fresh lignin, improving the mechanical bond between wood and finish.
Think of sanding as exfoliating: slough off dead cells so healthy skin can drink moisturiser.

Step-By-Step Deck Sanding for Homeowners
Below is the East Barnet Floor Sanding approved workflow—refined over two decades of local projects.
1. Essential Tools & Materials
| Item | Why You Need It |
|---|---|
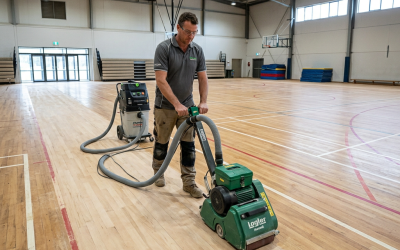
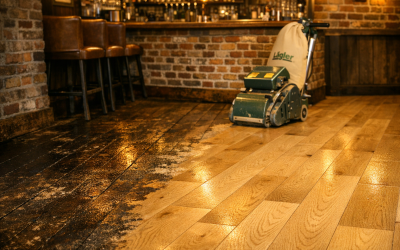
| Dual-Action Floor Sander (hire) | For rapid coverage of large areas |
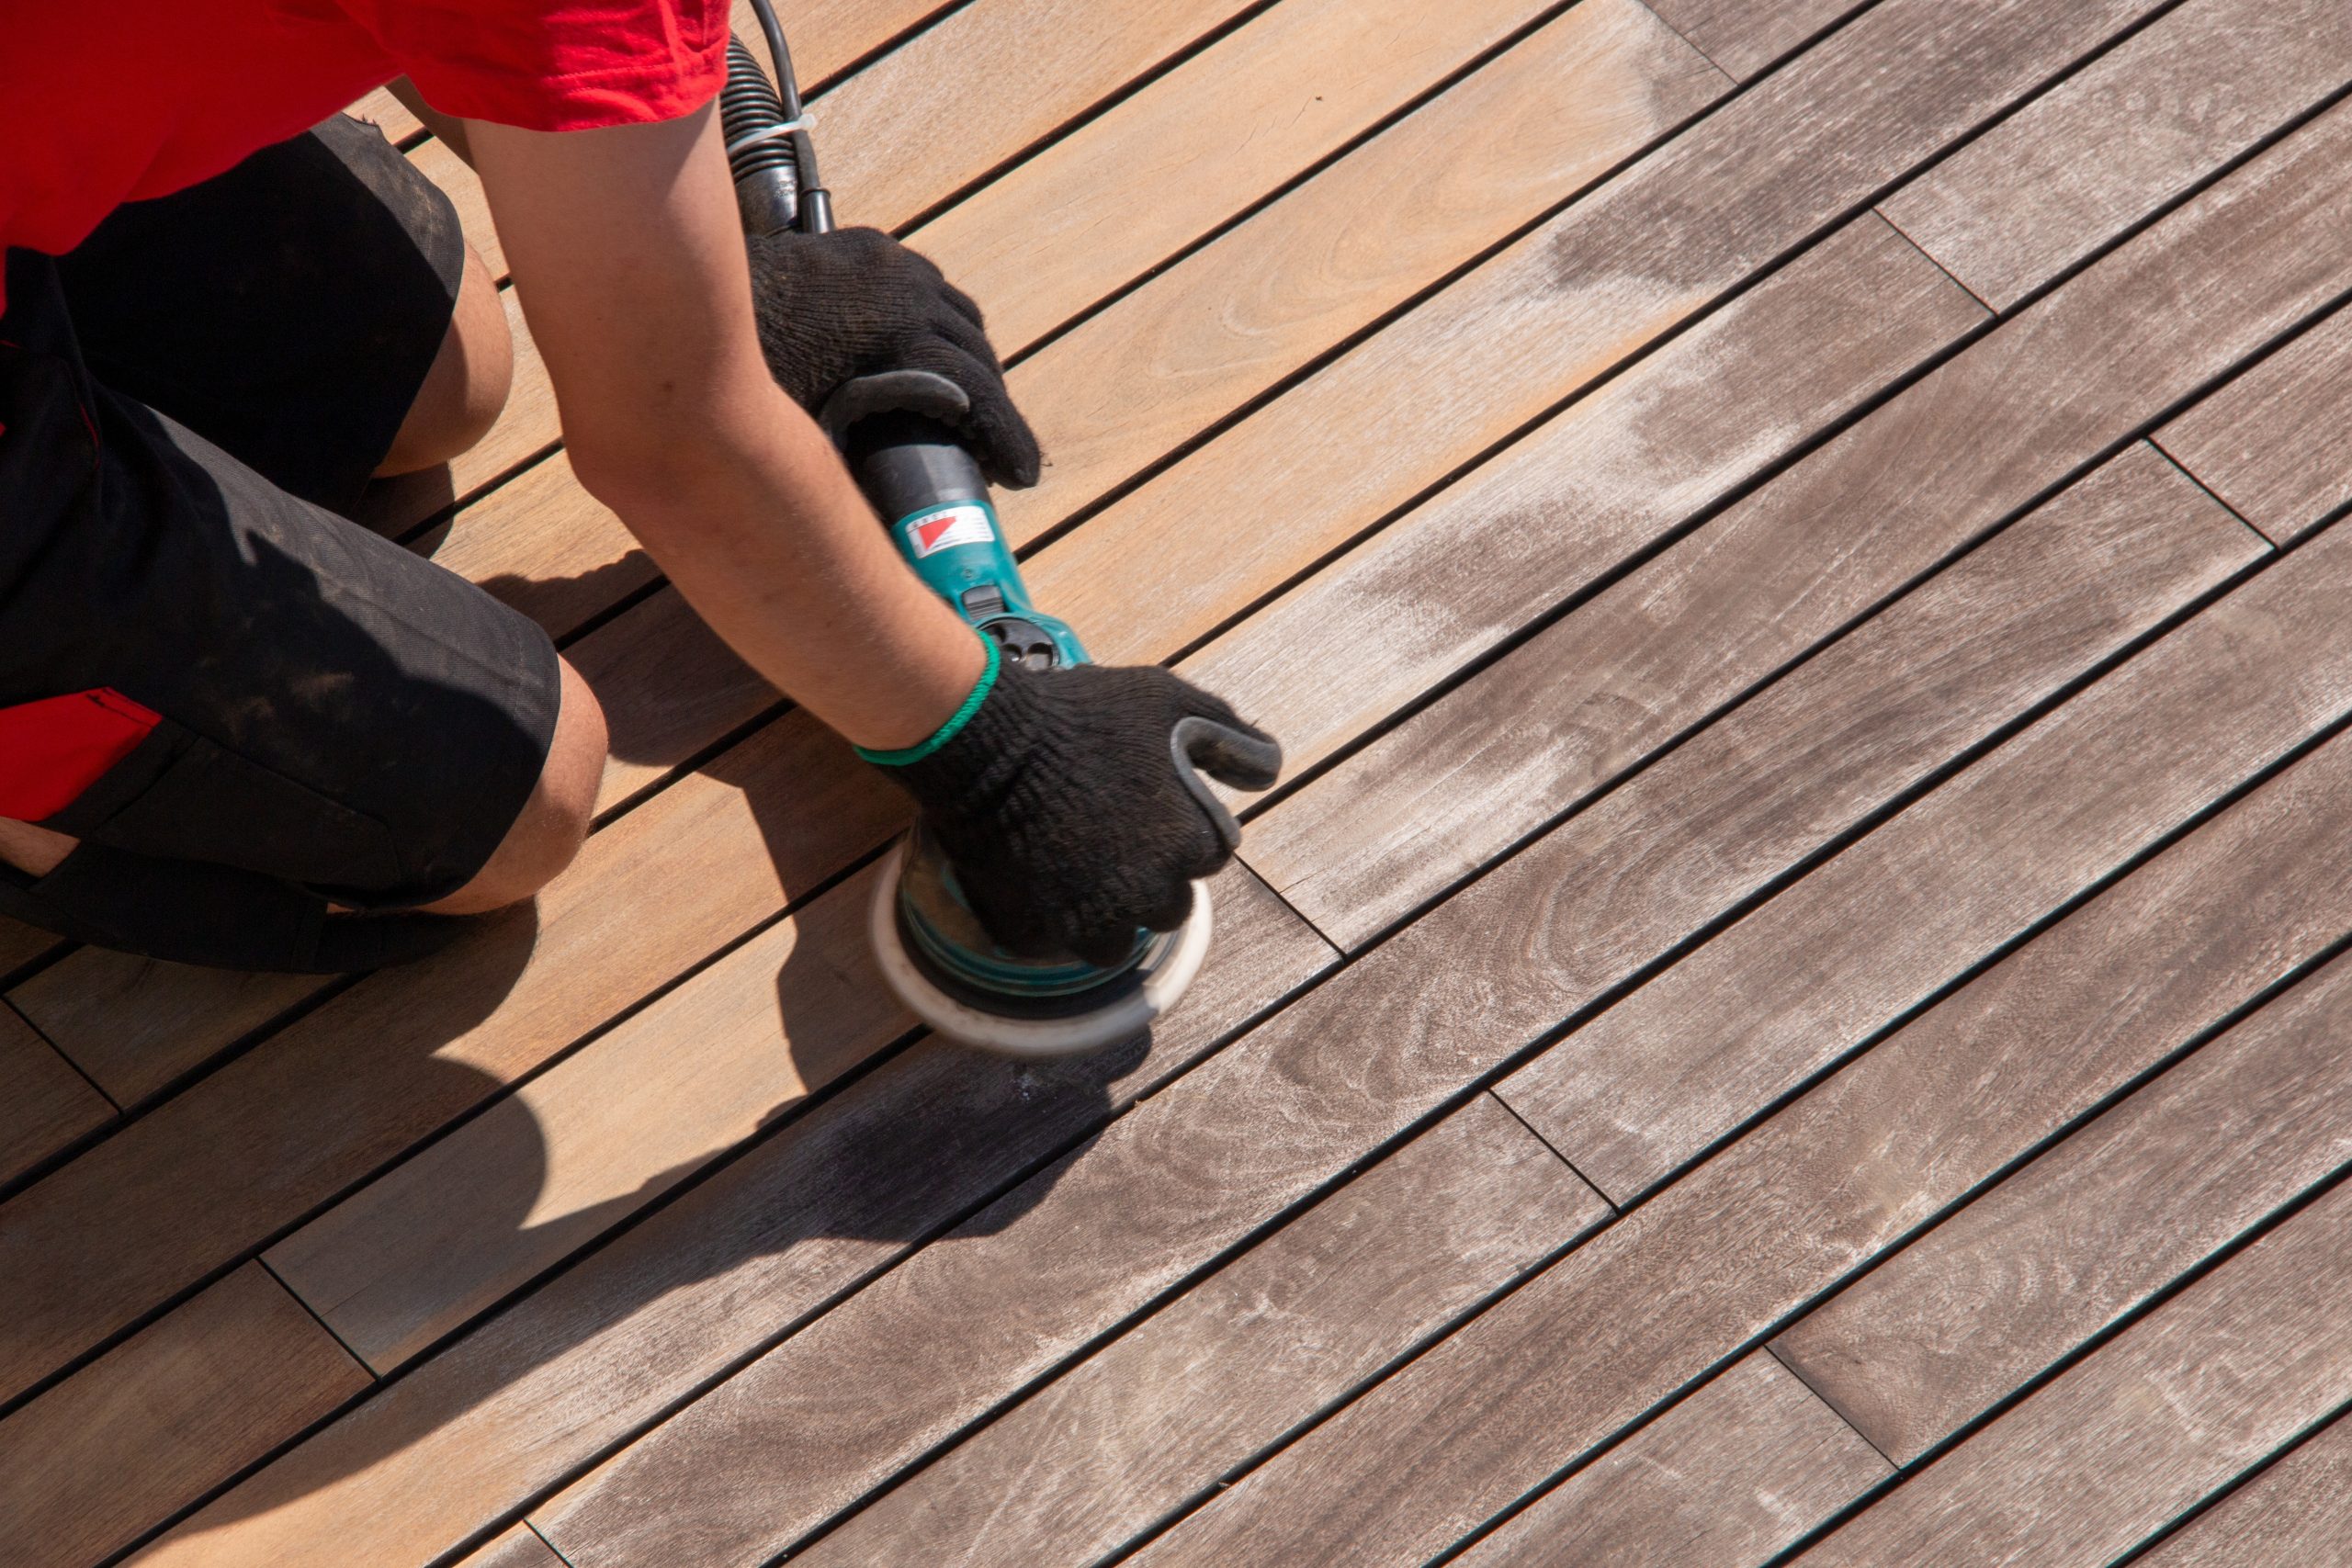
| Detail Palm Sander | Reaches tight corners and edges |
| 40-, 80-, 120-grit Sanding Discs | Coarse to fine progression |
| Dust Extraction Vacuum | Minimises airborne particles |
| Moisture Meter | Confirms surface dryness (<15 %) |
| Deck Cleaner & Fungicide | Removes algae before sanding |
| Exterior Timber Filler | Levels deep gouges |
| High-Quality Decking Oil or Hybrid Poly-Oil | Primary weatherproof coating |
| Synthetic-Bristle Brushes & Micro-Fibre Rollers | Even application |
Pro Tip: East Barnet’s damp climate often leaves unseen moisture pockets; a moisture meter is non-negotiable.
2. Thorough Preparation
- Clear the Area – Shift planters, benches, and BBQs.
- Wash & Treat – Apply deck cleaner and fungicide; scrub, rinse, and let dry for 24 hours.
- Inspect & Repair – Tighten screws, replace rotten boards, and fill gouges with timber filler.
3. Strategic Sanding Sequence
- Start Coarse (40-grit)
- Run the floor sander diagonally across deck boards.
- This cross-grain pass removes high points quickly.
- First Fine Pass (80-grit)
- Switch to sanding parallel with the grain.
- Vacuum between passes to prevent paper clogging with dust.
- Edge & Detail Work
- Use the palm sander (80-grit) along balustrades, steps, and tight corners.
- Finish Pass (120-grit)
- Final smooth that leaves just enough “tooth” for coatings to grip.
- Dust Removal
- Vacuum thoroughly, then wipe with a micro-fibre cloth dampened with white spirits.
4. Weatherproof Coating Application
- Check Moisture – Wood must read below 15 % to ensure proper oil absorption.
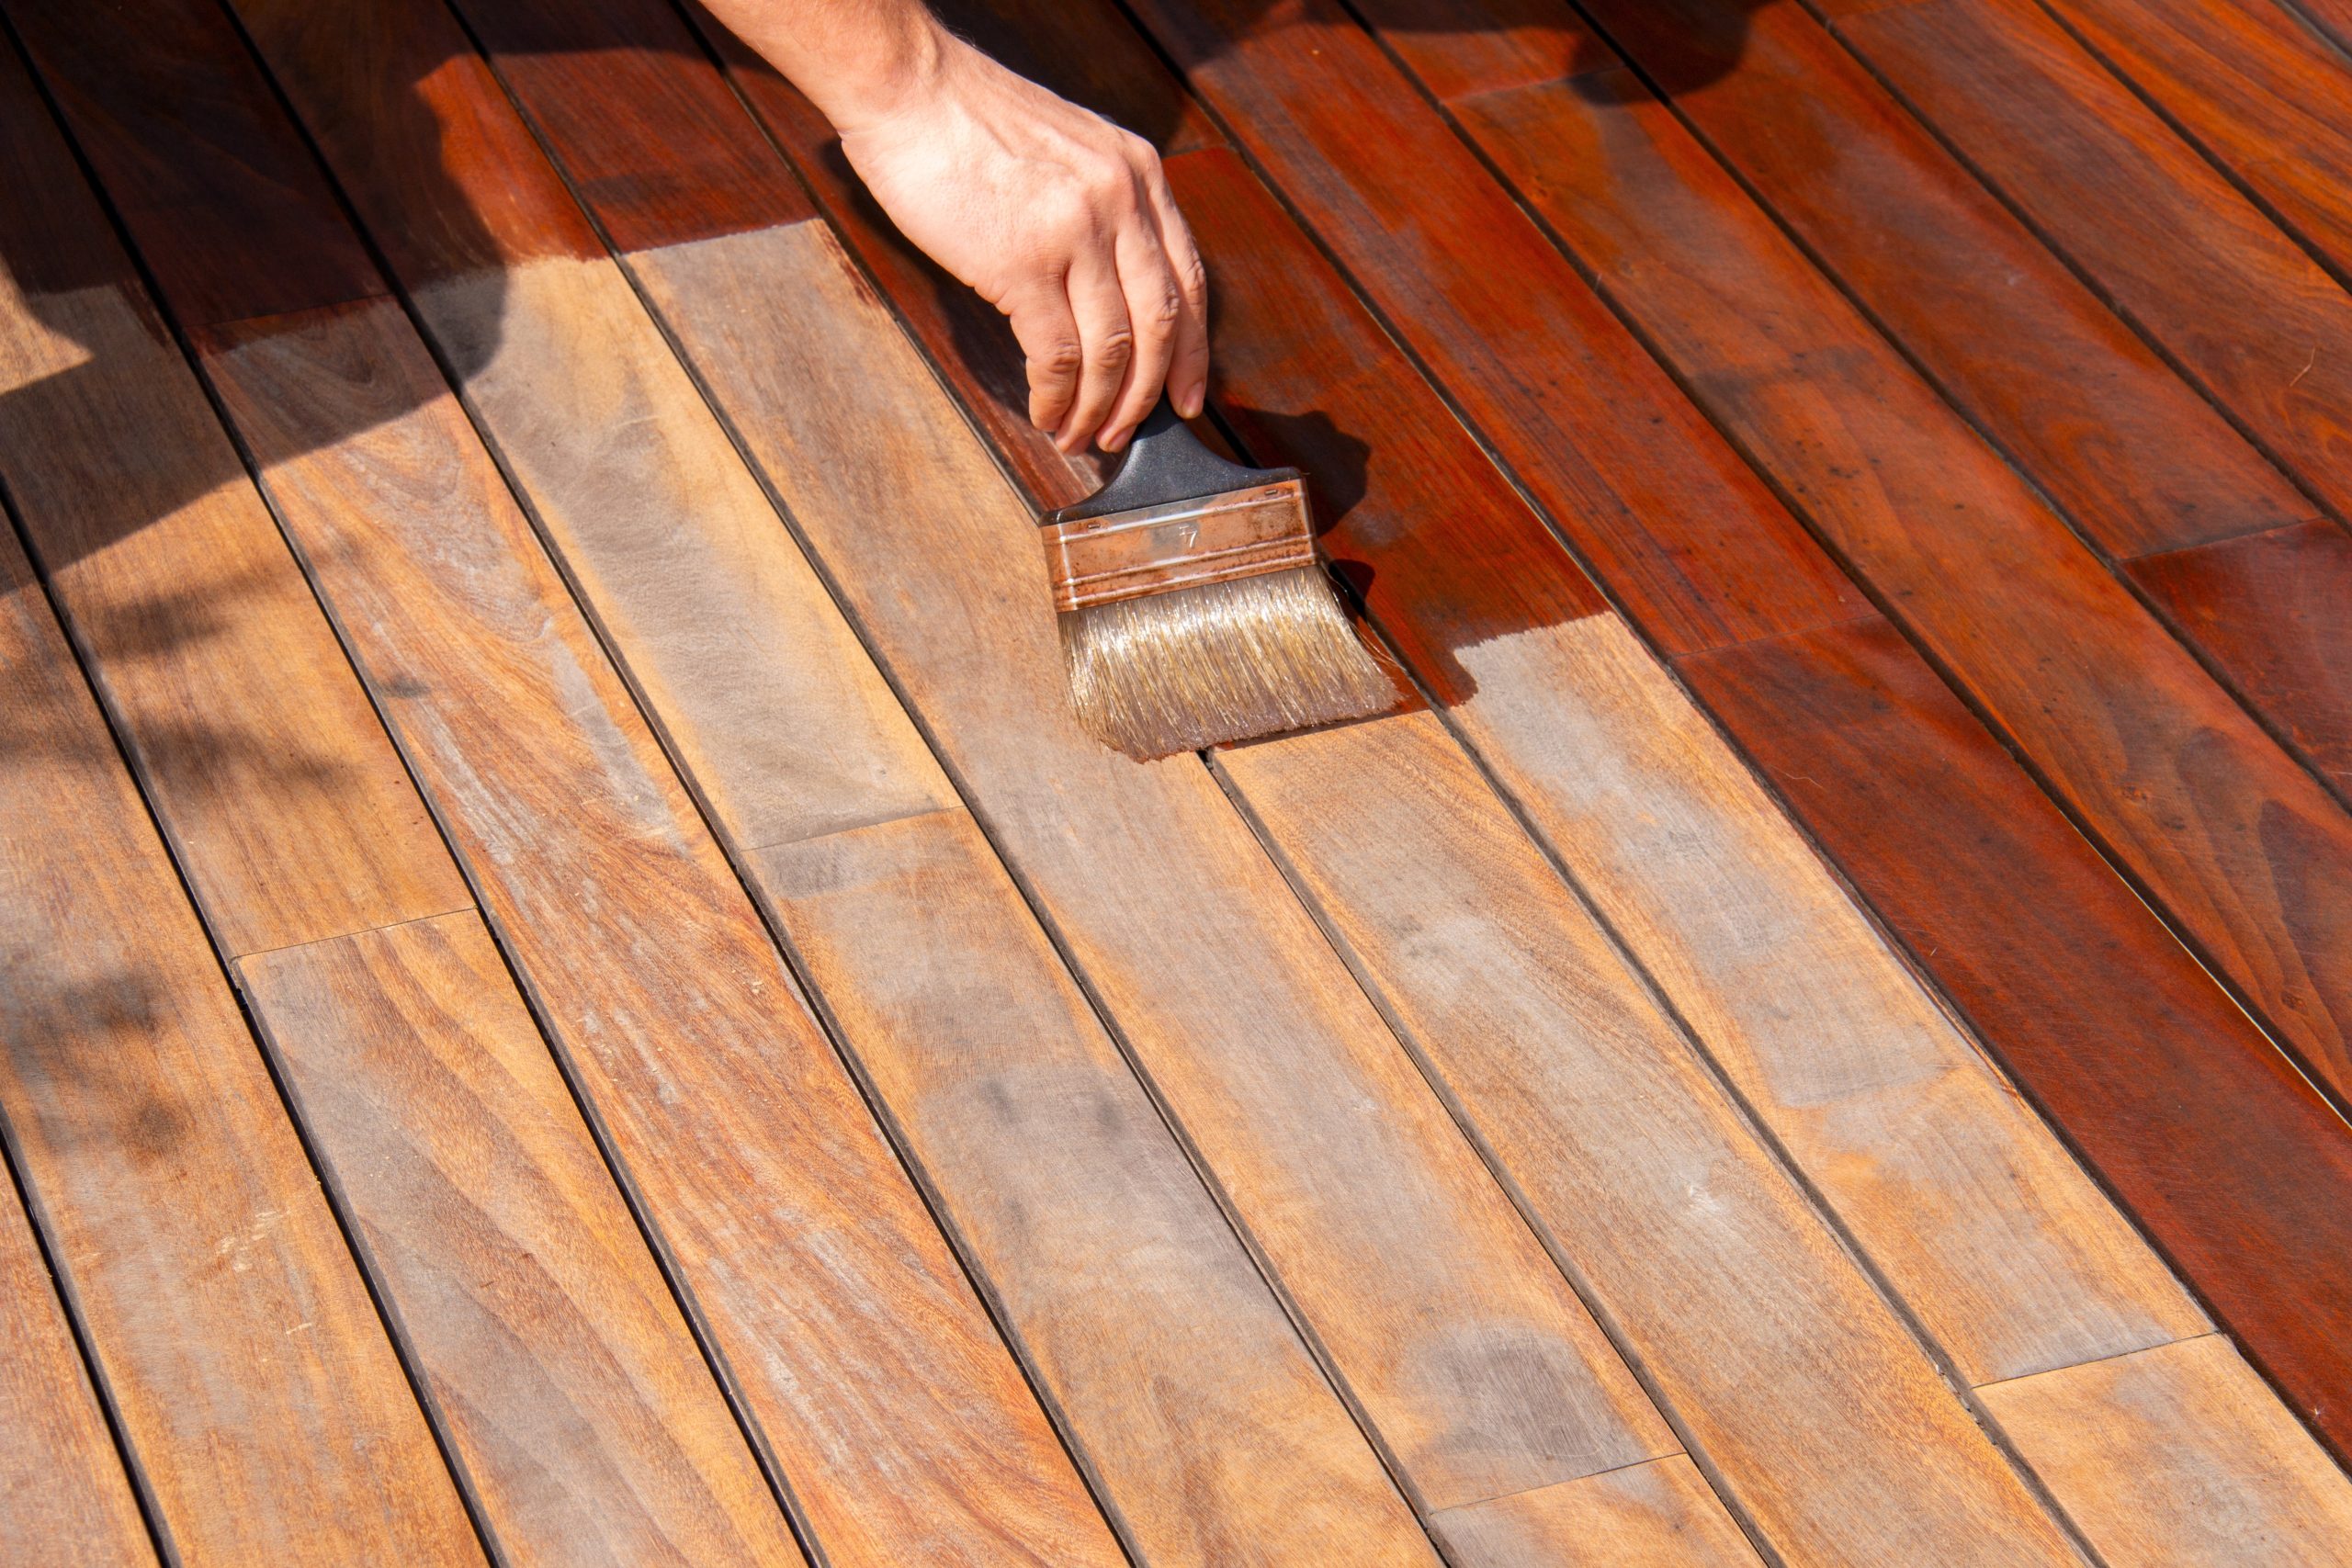
- First Coat – Flood the surface with decking oil, working along three boards at a time; back-brush to prevent pooling.
- Rest Interval – Allow 4–6 hours (or as per manufacturer) before the second coat.
- Second Coat – Repeat for uniform saturation.
- Cure Time – Keep traffic off the deck for at least 24 hours; cover if rain threatens.
Choosing the Right Finish for British Winters
Not all coatings wear the same under East Barnet skies. Below is a quick-fire comparison:
| Finish | Durability | Appearance | Re-Coat Interval | Ideal For |
|---|---|---|---|---|
| Traditional Linseed Oil | Medium | Warm-amber satin | 9–12 months | Heritage aesthetics |
| Modern Alkyd-Resin Oil | High | Rich semi-gloss | 18–24 months | Busy households |
| Water-Based Poly-Oil Hybrid | Very High | Natural matt | 2–3 years | High-traffic decks |
| Full Polyurethane Varnish | Highest | Gloss | 3–4 years | Commercial pubs |
Insider Secret: A water-based poly-oil hybrid offers the sweetest spot—fast drying, low odour, and flexible enough to move with seasonal expansion.
Common Mistakes (and How to Dodge Them)
- Skipping Grits – Jumping from 40- to 120-grit leaves swirl marks under clear finishes.
- Over-Sanding Softwood – Excess pressure “burnishes” pine, closing the grain so oil can’t penetrate.
- Applying Oil on Frosty Mornings – Microscopic ice crystals trap moisture, leading to cloudy patches.
- Ignoring Board Ends – End-grain absorbs up to 300 % more water; always saturate edges and cuts.
- Using Domestic Vacuum Bags – Fine sanding dust clogs household vacuums; hire a dust-rated extractor.
Deck Sanding FAQs—East Barnet Edition
Q: How late in the year can I safely sand my deck?
A: Aim for a dry spell with daytime temps above 10 °C. In East Barnet that’s typically early October. Late iffy weather means longer curing times and higher humidity, so plan ahead.
Q: Do I really need professional equipment?
A: Yes. A dual-action floor sander provides consistent pressure and dust control. Rental shops in East Barnet High Road offer weekend hire packages from £55.
Q: How often should I repeat the process?
A: A properly sealed deck only needs a light re-sand (120-grit) and fresh coat every two years—but inspect annually for high-traffic wear near patio doors.
Q: Will sanding remove deep stains and scorch marks?
A: Most tannin or BBQ grease marks vanish by the 80-grit pass. Burnt patches may require board replacement.
Sustainable Tips for the Eco-Minded Homeowner
- Collect Dust – Mix fine sawdust with wood glue to create an eco filler for small cracks.
- Opt for Low-VOC Oils – Water-based hybrids emit fewer solvents, protecting family and wildlife.
- Reuse Off-cuts – Sanded board ends make excellent kindling in wood-burning stoves.
When to Call the Professionals
- Severe Rot: If more than 15 % of boards flex underfoot.
- Complex Design: Multi-level or spiral decks demand specialist edge-sanding tools.
- Time Constraints: A professional East Barnet crew can sand and seal a 20 m² deck in a single day, weather permitting.
Professional teams also carry industrial-grade heaters and tarps—keeping the job on schedule during fickle autumn showers.
The Magical Transformation—A Short Case Study
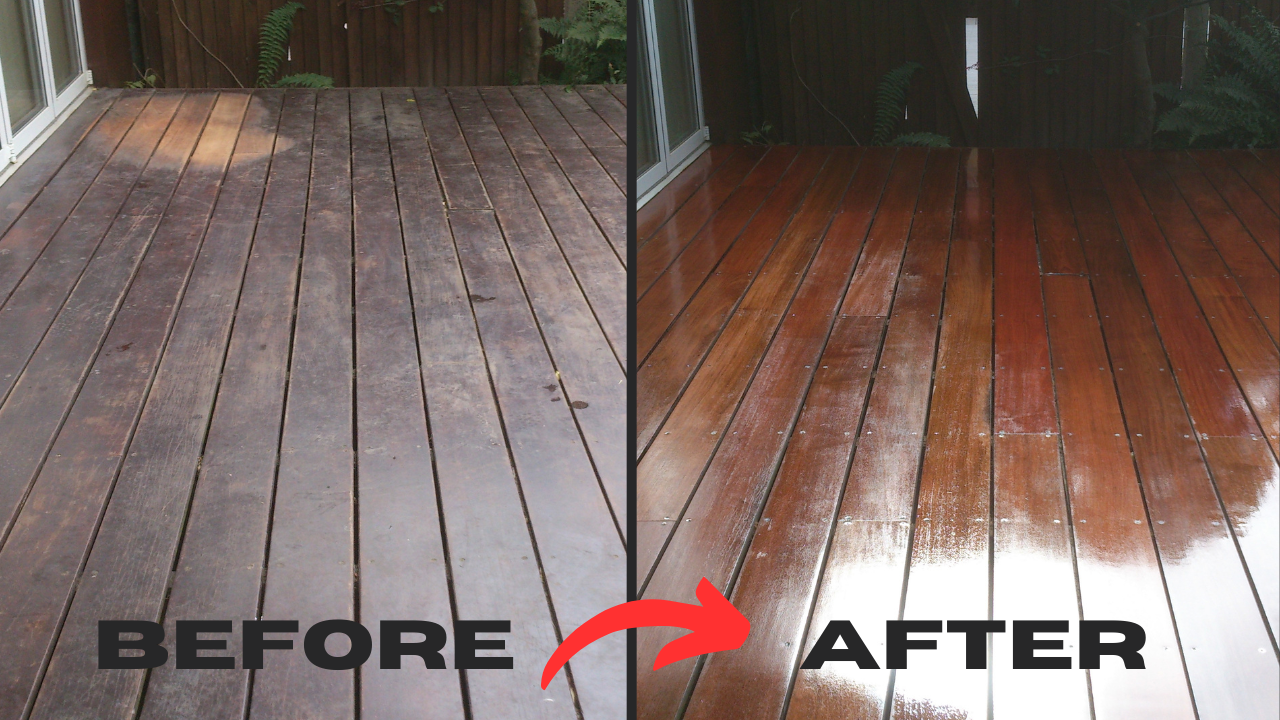
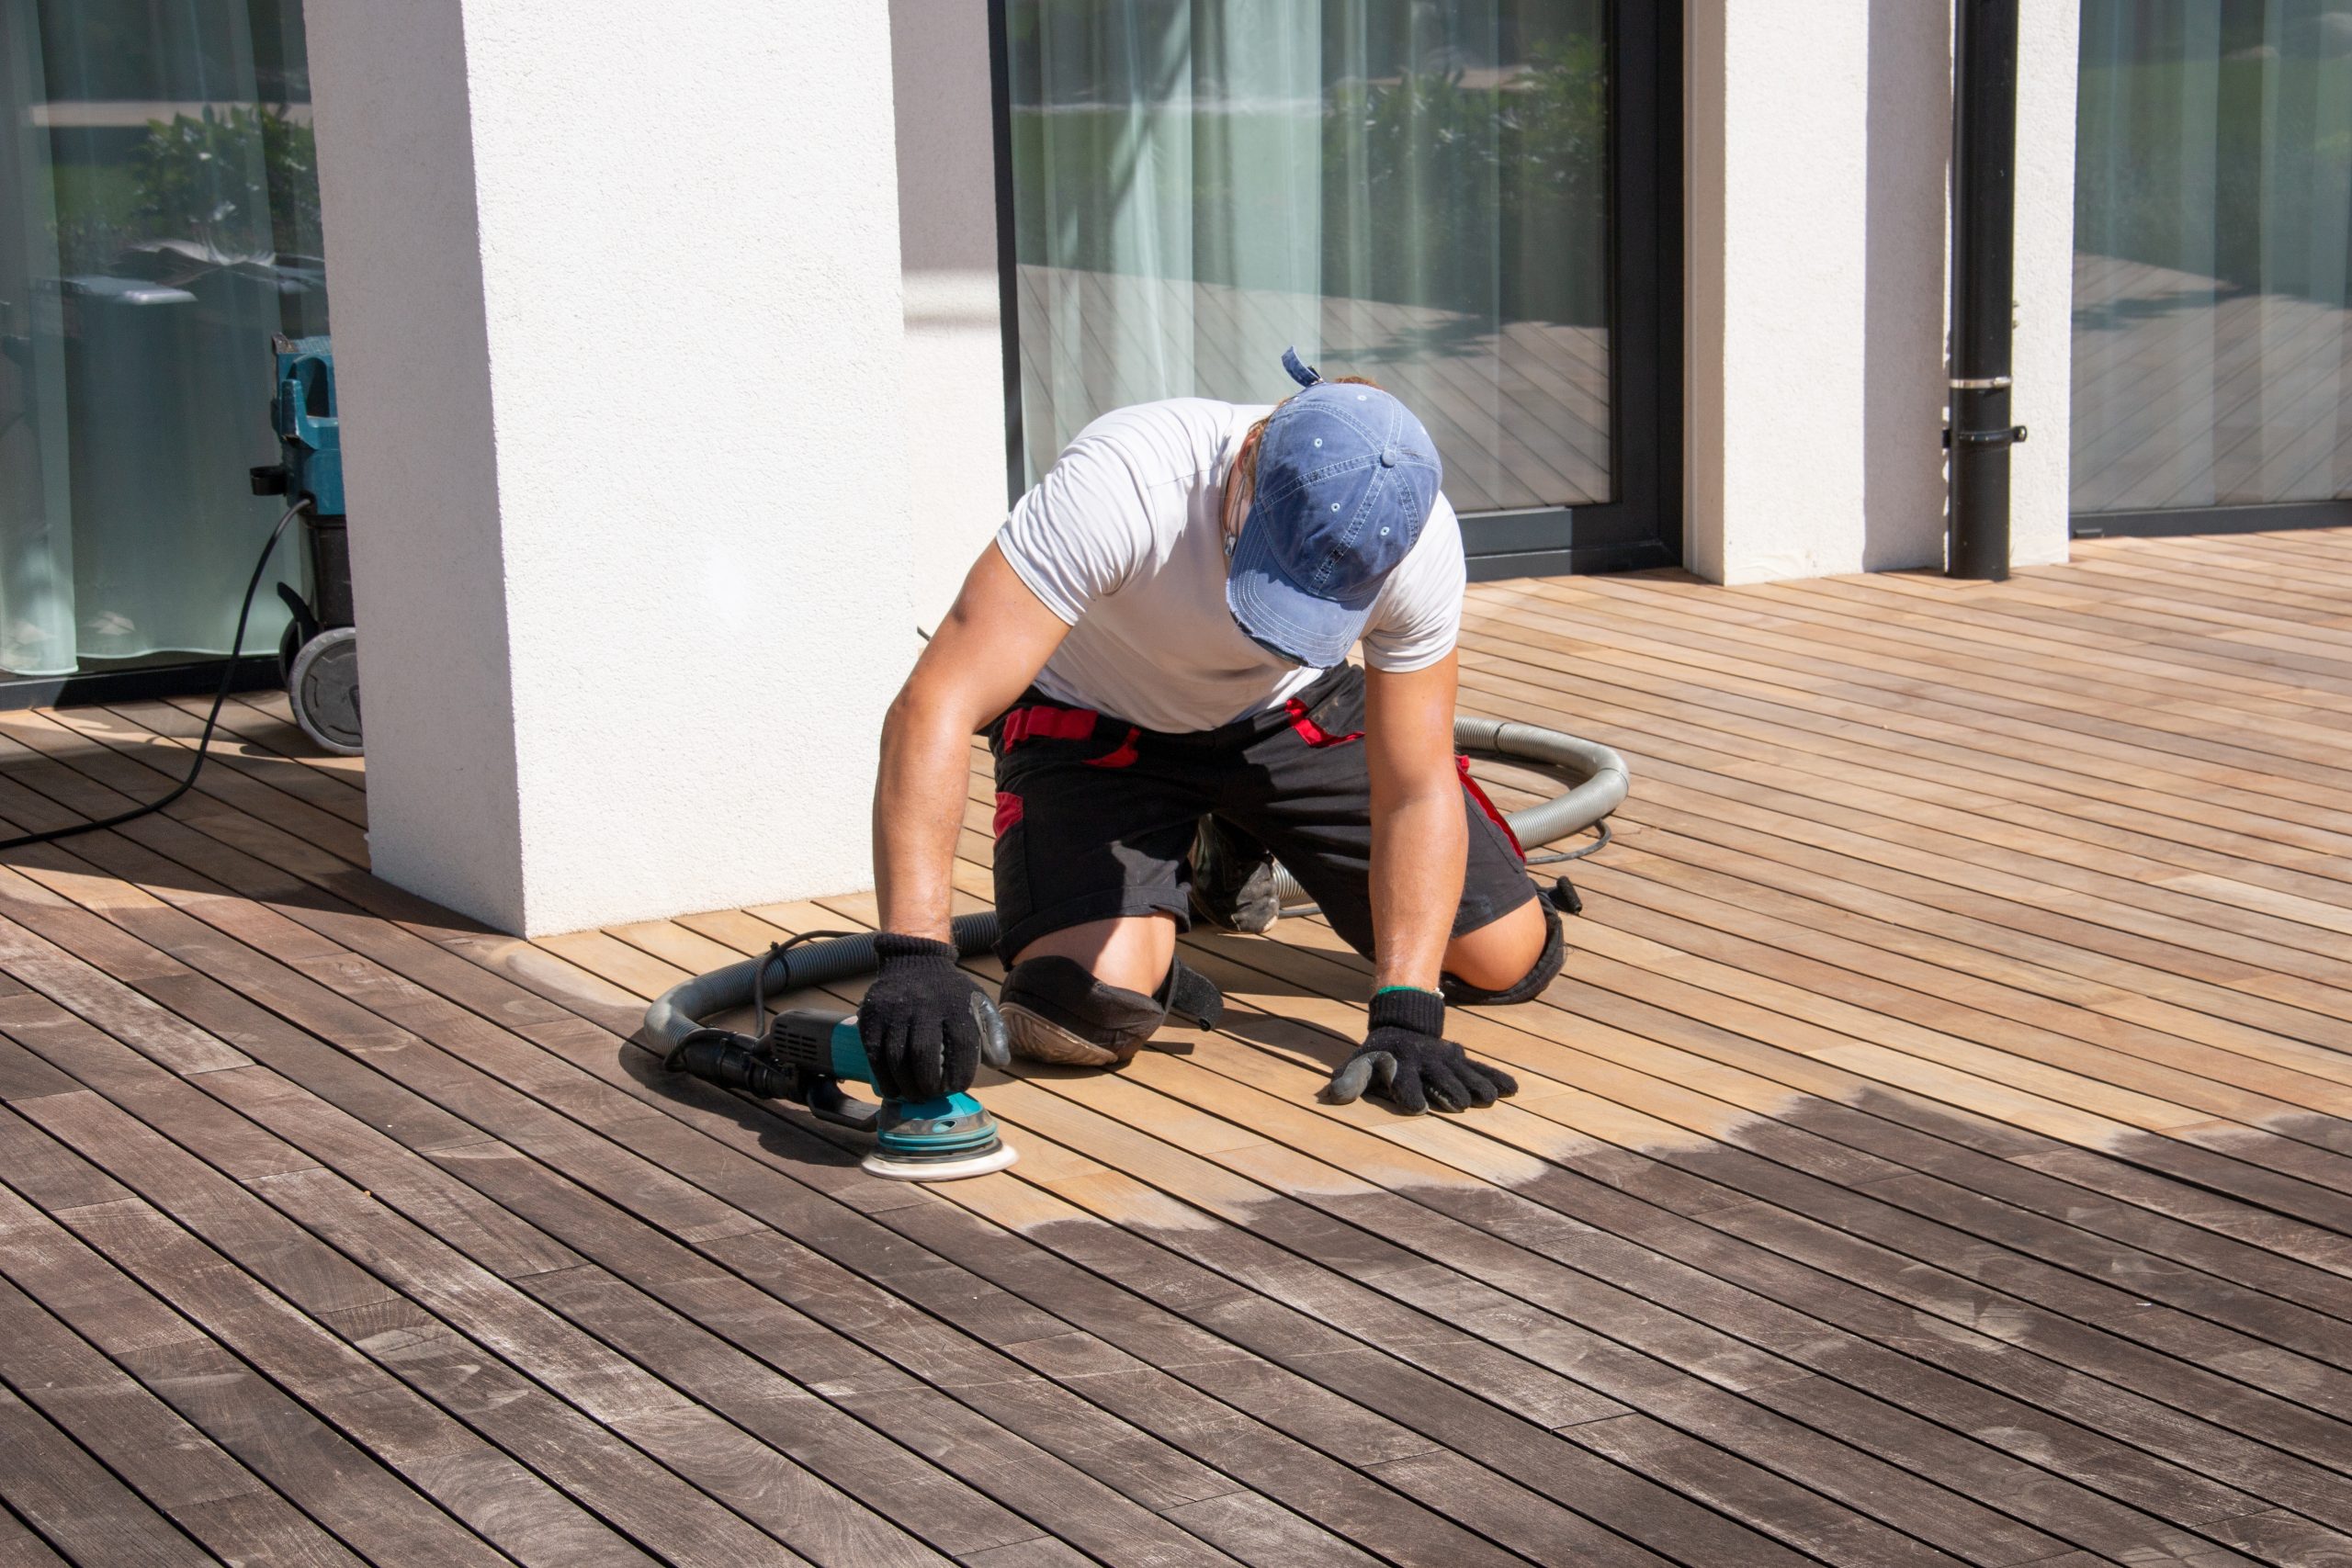
Mrs Hayes of Parkside Gardens, East Barnet, inherited a 12-year-old softwood deck, grey as a winter sky. After a two-day sanding and hybrid poly-oil treatment, the grain bloomed into a honey-gold tapestry. Rain now beads and rolls away, while evening fairy lights glow against a satin finish. Neighbours assumed she’d installed a brand-new hardwood terrace—proof that careful prep and quality sealing pay dividends.
Your 10-Point Winter-Ready Checklist
- Clear and wash the deck.
- Treat algae and fungicide.
- Confirm moisture content < 15 %.
- Coarse sand at 40-grit.
- Intermediate sand at 80-grit.
- Edge-sand corners and balustrades.
- Final smooth at 120-grit.
- Vacuum and tack-cloth all dust.
- Apply two coats of weatherproof oil.
- Allow 24 hours’ cure before use.
Tick those boxes and you’ll own a timber deck primed to handle whatever December throws at East Barnet.
Conclusion – A Deck That Defies the Elements
British winters may be notorious, but they’re no match for a deck that’s been methodically sanded and sealed. By stripping away weather-beaten fibres, opening the grain, and infusing timber with durable oils, you create a hydrophobic barrier—one that shrugs off sleet, resists algae, and stays structurally sound for years.
So, pour yourself a steaming cuppa, admire that freshly sanded glow, and rest easy when you hear the first hailstones on the conservatory roof. Your deck is ready—fortified by the secrets shared here and executed with the precision East Barnet homeowners deserve.
Ready to Transform Your Timber?
If your calendar is packed or the idea of wielding a 60-kg sander sends shivers down your spine, the specialist team at East Barnet Floor Sanding is just a phone call away. We’ll bring dust-free equipment, eco-friendly finishes, and two decades of North-London expertise straight to your garden gate—leaving you with a deck that welcomes winter, rather than dreads it.
Book your free on-site assessment today and secure a slot before the first frost bites.