Transform Your Herringbone Parquet: Pro Sanding Sequence
Herringbone parquet has a magic all of its own: lines that zig and zag, light that plays across the blocks, and a feeling of craftsmanship underfoot. But bringing tired, scratched, or uneven herringbone back to life isn’t just a matter of running a big machine up and down the room. It calls for a careful sequence, correct geometry, and the right abrasives at the right times. Getting Herringbone Parquet Sanding right means your floor finishes dead-flat, crisp-edged, and ready for years of hard use—not just “better than before”.
Below is a complete, professional method you can follow or use to brief your contractor. We’ll cover what makes herringbone different, the tools and setup you need, a precise sanding sequence (with grits), gap-filling, finishing options, and common pitfalls to avoid.
Why herringbone behaves differently
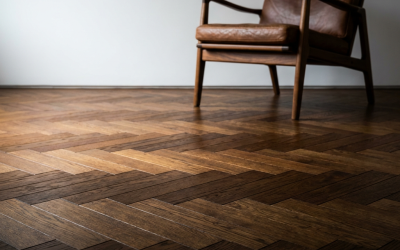
Herringbone isn’t laid in long boards with one dominant grain direction; it’s a pattern of short blocks laid at 90° to one another, meeting in a repeating V. That means the surface presents end-grain, long-grain, and cross-grain almost everywhere. If you simply sand “with the grain”, you’ll never truly level the surface; you’ll follow the waves. Because Herringbone Parquet Sanding is as much about geometry as it is about abrasion, the first cuts are usually made on the diagonal to cut across high points and bring the whole field flat. Only once the floor is level do you “with-the-pattern” passes that refine the scratch.
The second complication is movement. Herringbone blocks are often glued with historic adhesives (including bitumen), and over time they can loosen or crown. A professional job always stabilises the field before heavy sanding starts.

Preparation: conditions, safety, and protection
Site conditions:
- Aim for 18–22 °C and 40–60% relative humidity for a few days before, during, and after works.
- Close windows to control dust flow; ensure good ventilation when finishing.
- Remove skirting shoe/beading if present; mask off kitchen plinths, door linings, and built-ins.
Power & dust control:
- Provide a 230 V supply with breakers that can handle 2–3 machines (belt, edger, dust extractor).
- Use high-filtration extraction (H-class where possible) and keep collection bags below half full.
Safety:
- Wear FFP2/FFP3 masks, ear protection, and safety glasses.
- Keep a metal bin with a lid for used abrasive dust—oil-soaked rags can self-heat; dispose safely.

Tools & materials checklist
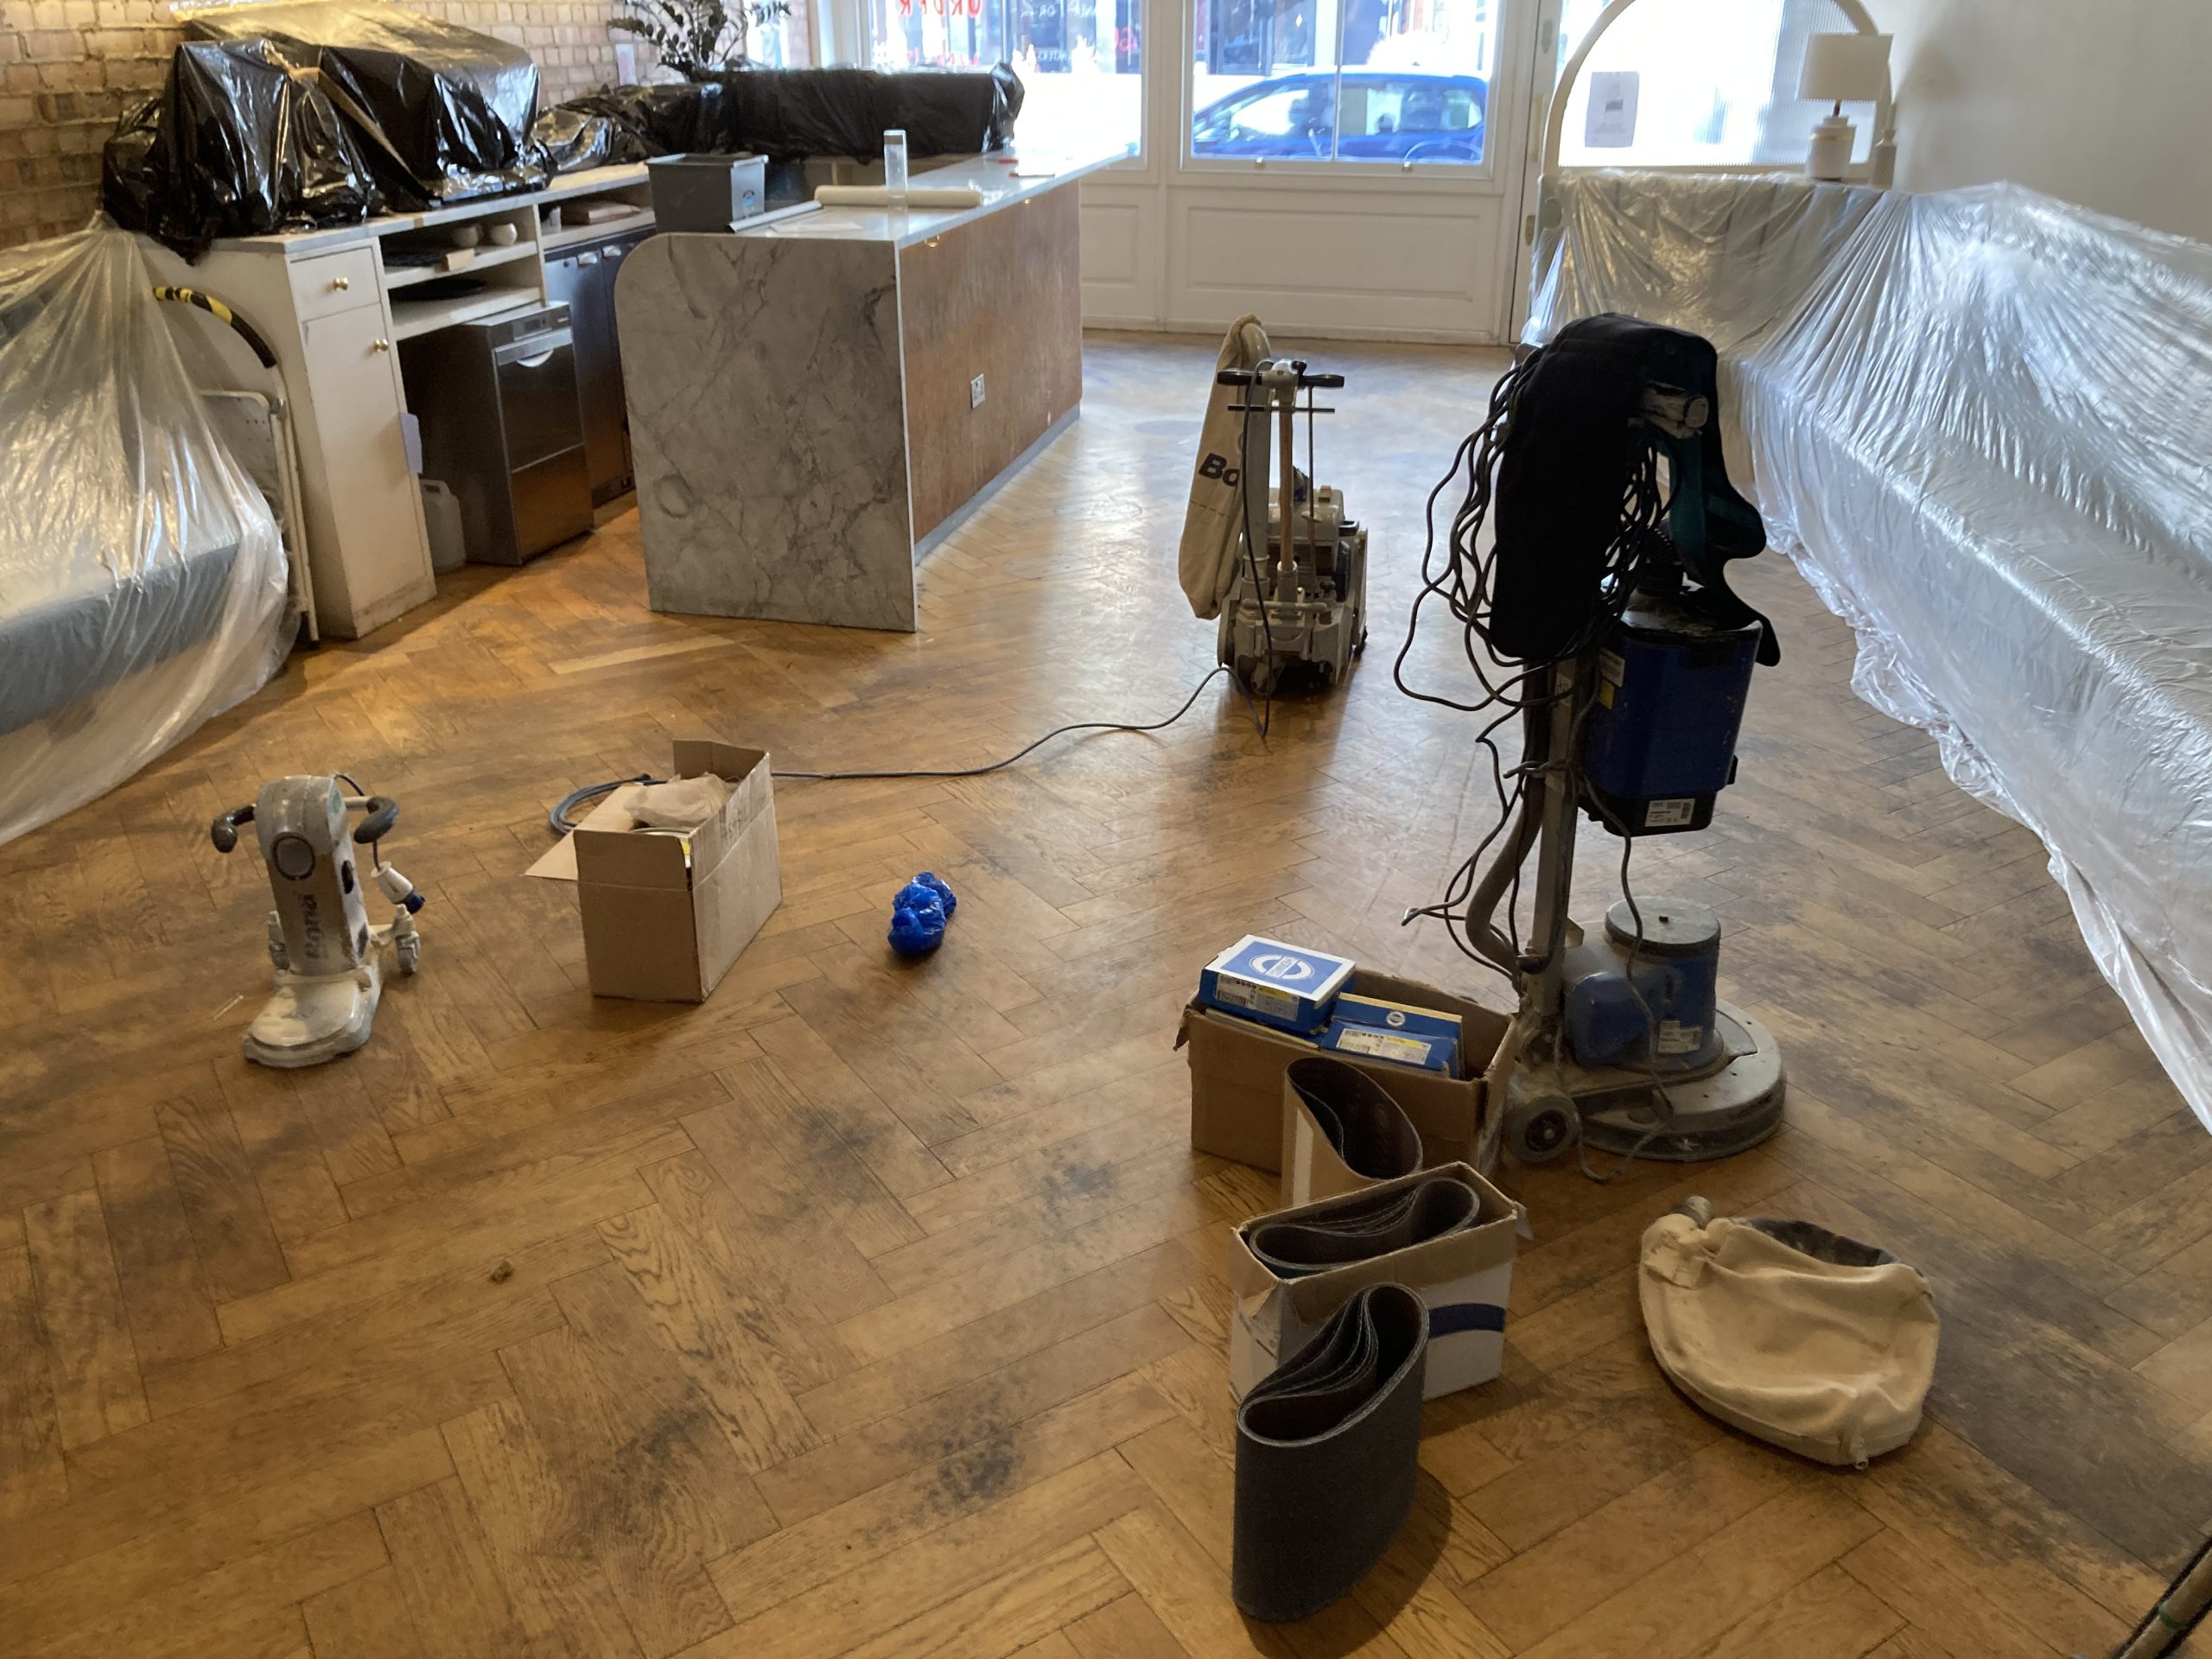
For Herringbone Parquet Sanding, your kit should include:
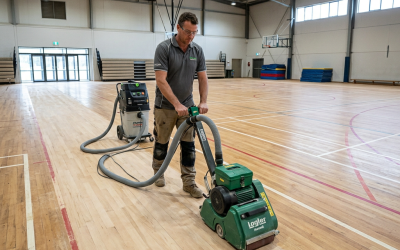
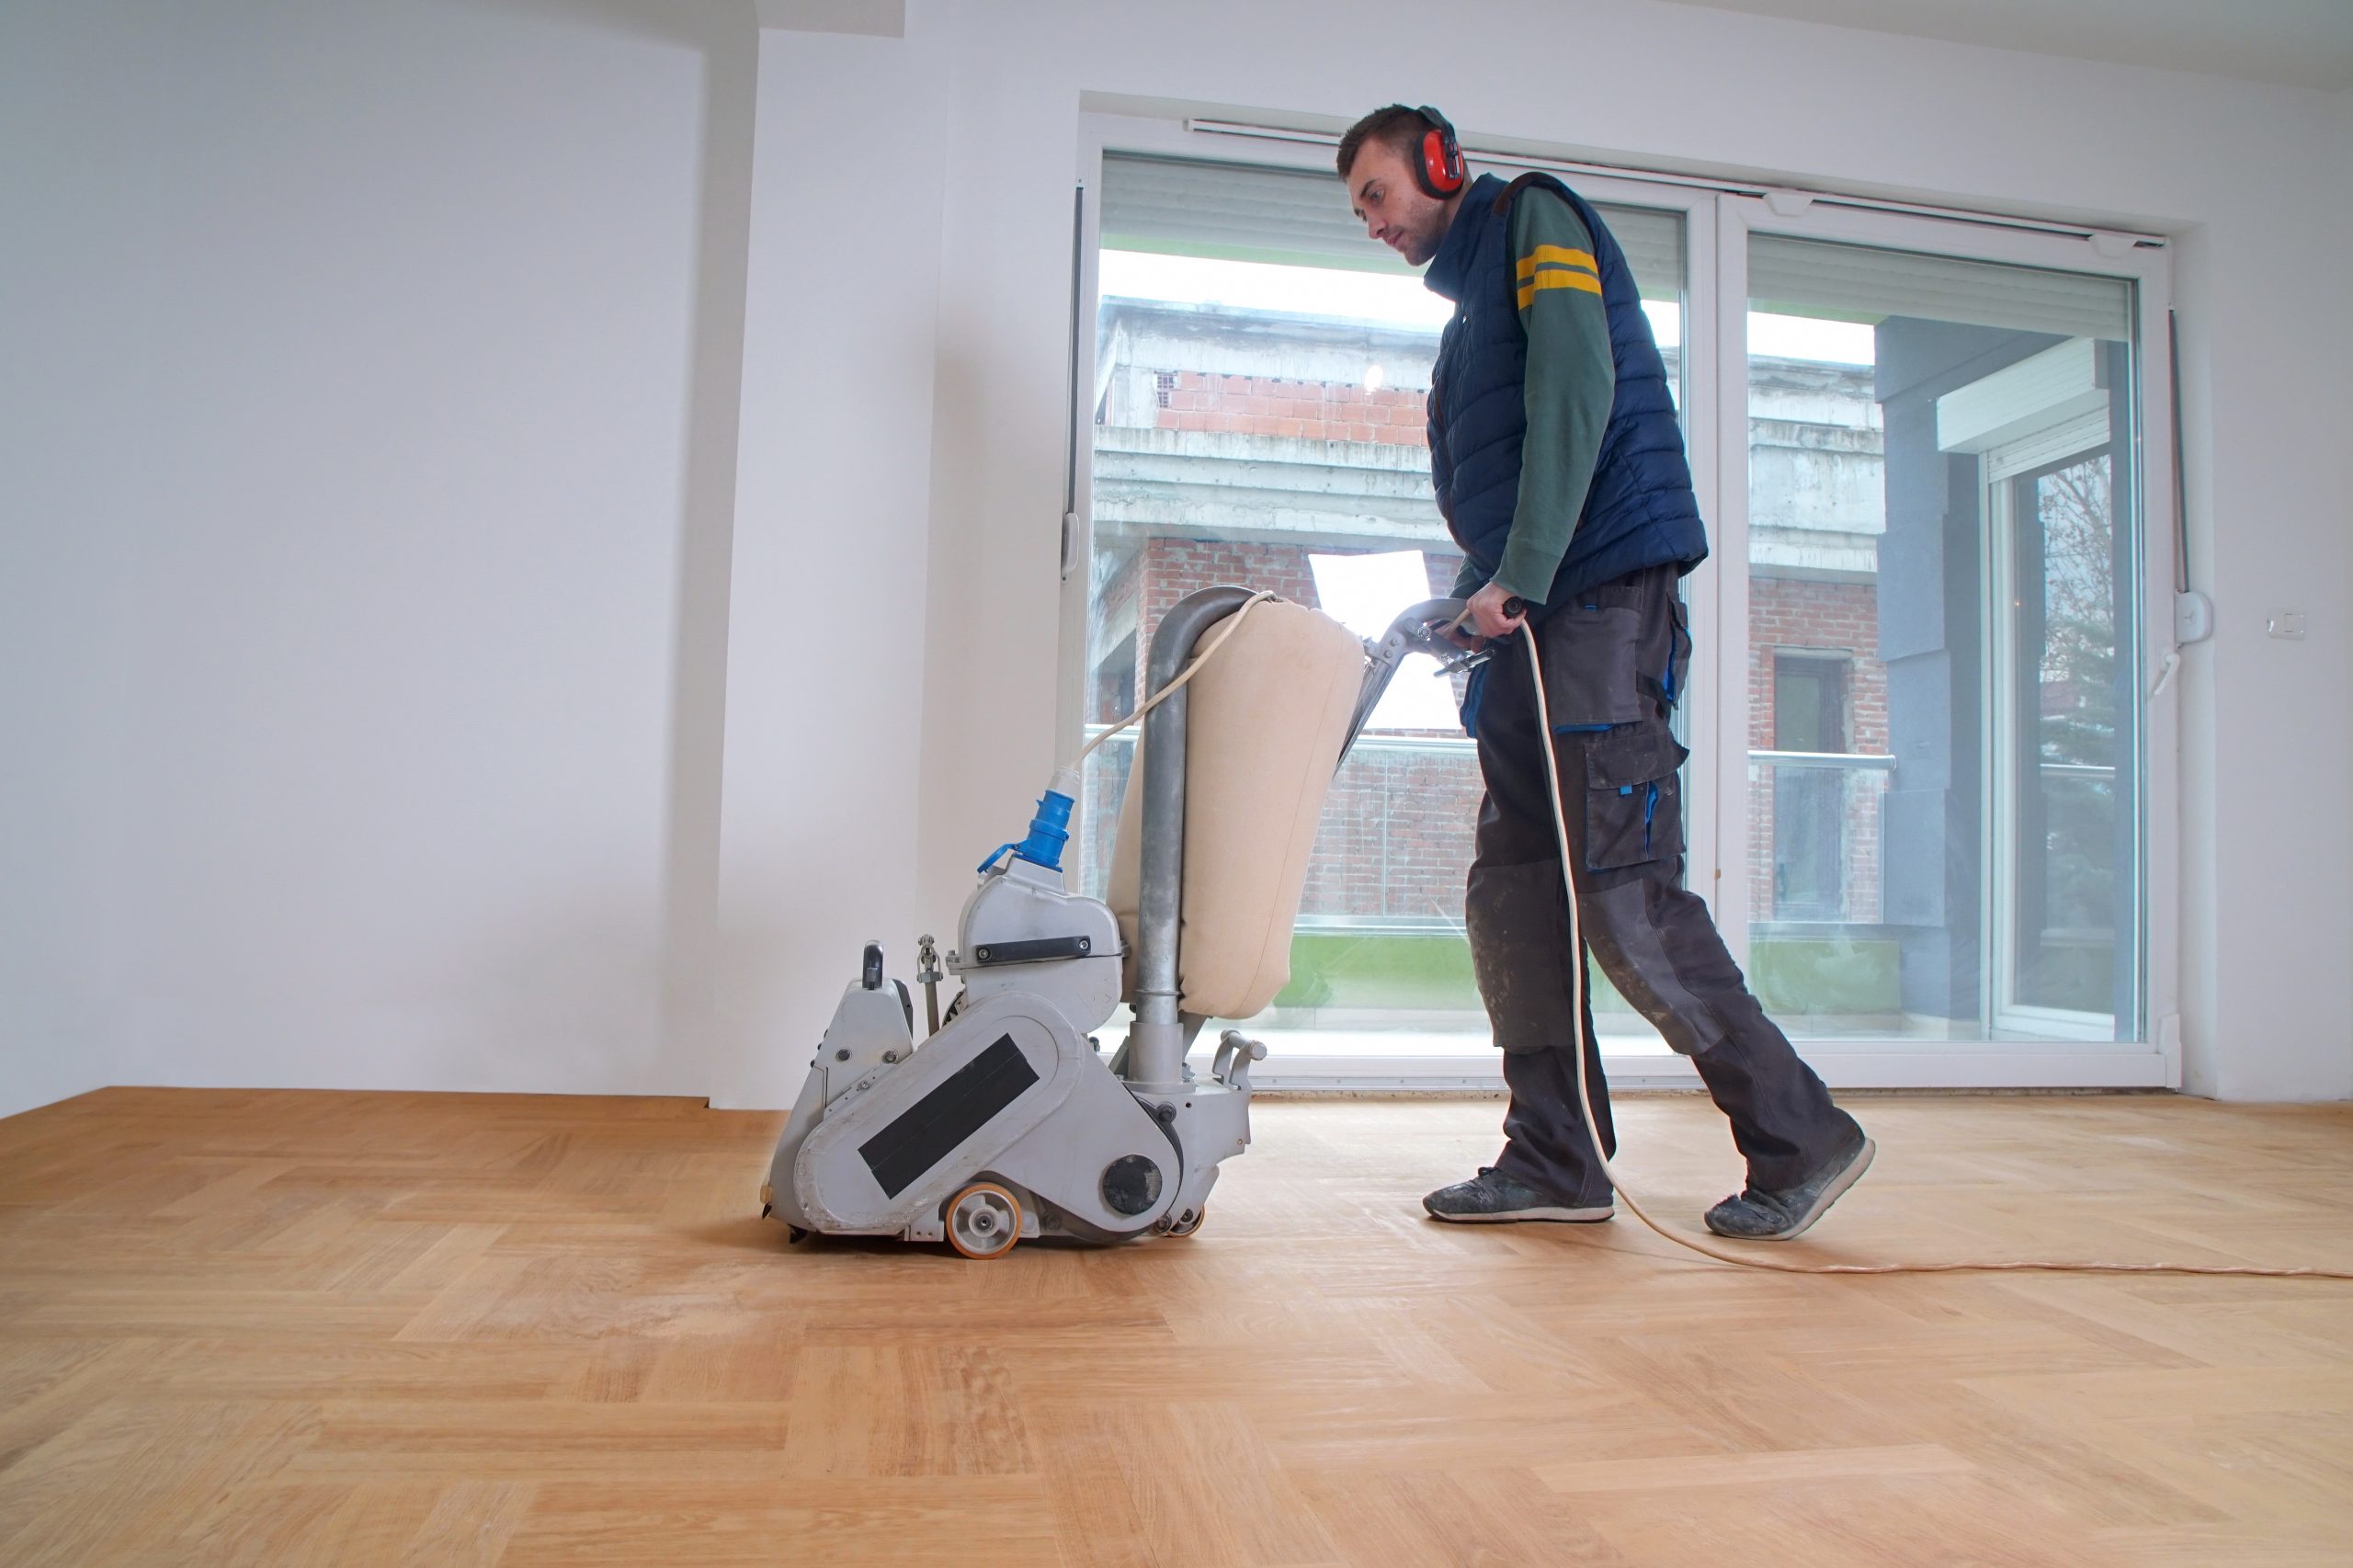
- Belt or drum sander with quality aluminium-oxide or ceramic belts (36/40, 60, 80/100 grits).
- Edger (178–200 mm) for perimeter and under radiators.
- Rotary or multi-disc finisher (e.g., a trio/planetary or random-orbit) for flattening and final polish.
- Detail tools: corner scraper, sharp cabinet scraper, chisel set, multi-tool for thresholds.
- Repairs: parquet adhesive compatible with existing substrate, 2-part epoxy for isolated fixes.
- Fillers: fine wood dust from the floor plus resin binder (or a pro-grade premixed gel).
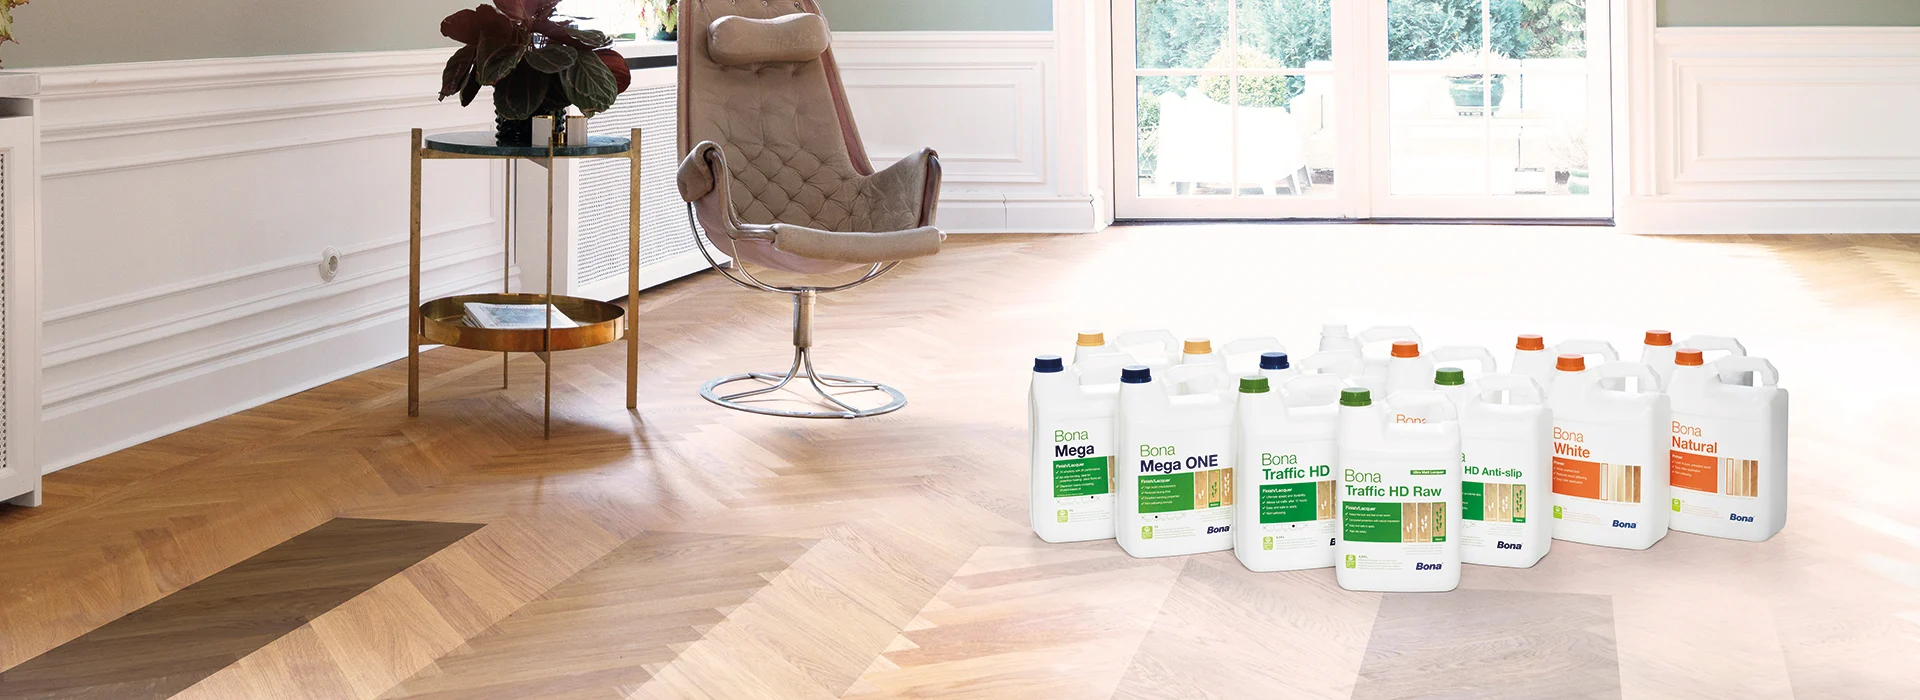
- Finishes: primer/sealer; water-based lacquer or hardwax oil; quality microfibre rollers/pads.
- Consumables: tack cloths, masking, felt pads for furniture, temporary door bars.
The professional sequence (step-by-step)
1) Survey and test
- Identify the wood species (often oak; sometimes teak, beech, or merbau).
- Check for hollow-sounding or rocking blocks; mark loose areas.
- Scrape a small area to see what coatings you’re up against—old shellac, lacquer, oil, or bitumen bleed.
2) Stabilise the field
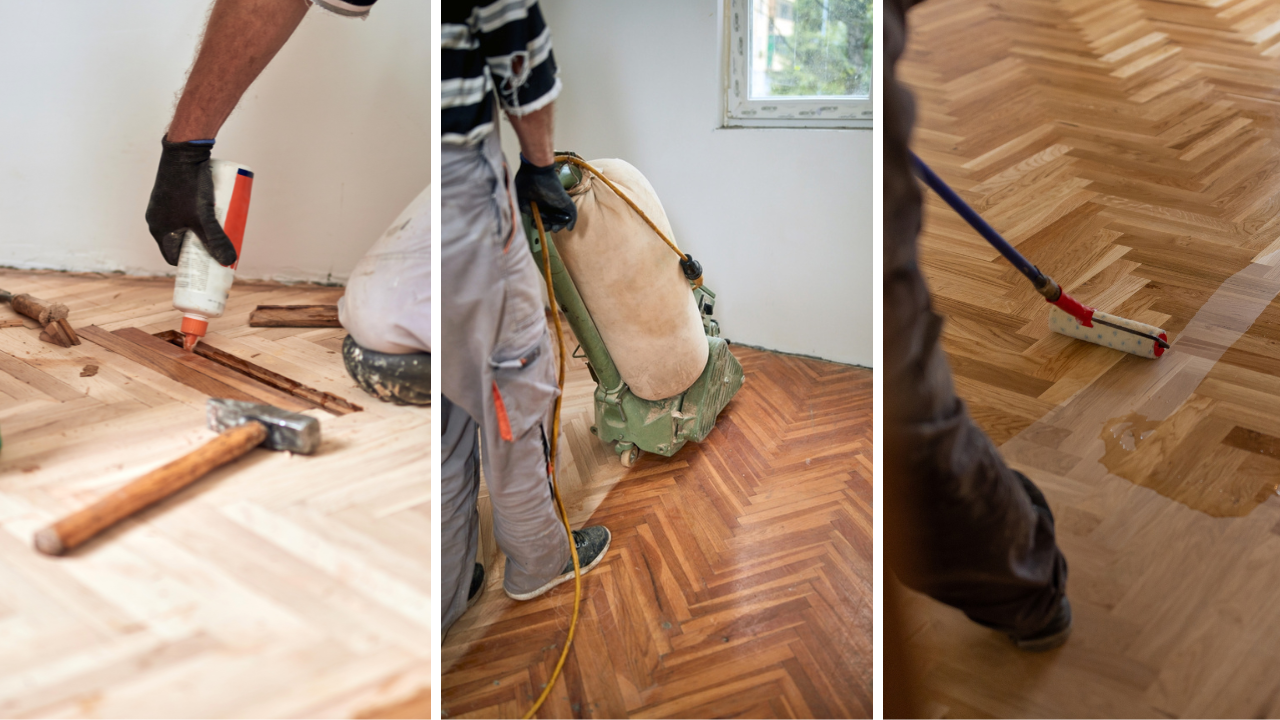
- Re-bond loose blocks with a modern parquet adhesive. Lift carefully, scrape old bitumen ridges flat, and clamp during cure if necessary.
- Feather height differences: If you see crowned or proud blocks, spot-level with a sharp scraper before machine passes to prevent the belt scudding.
3) De-nail and de-snag
- Set any protruding brads/staples below the surface.
- Uncouple and remove old gripper rods (from historic carpets) and pin holes can be filled later.
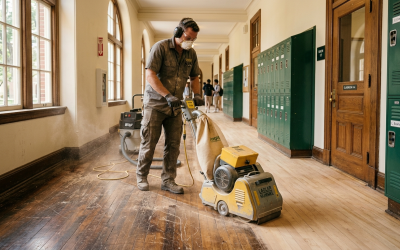
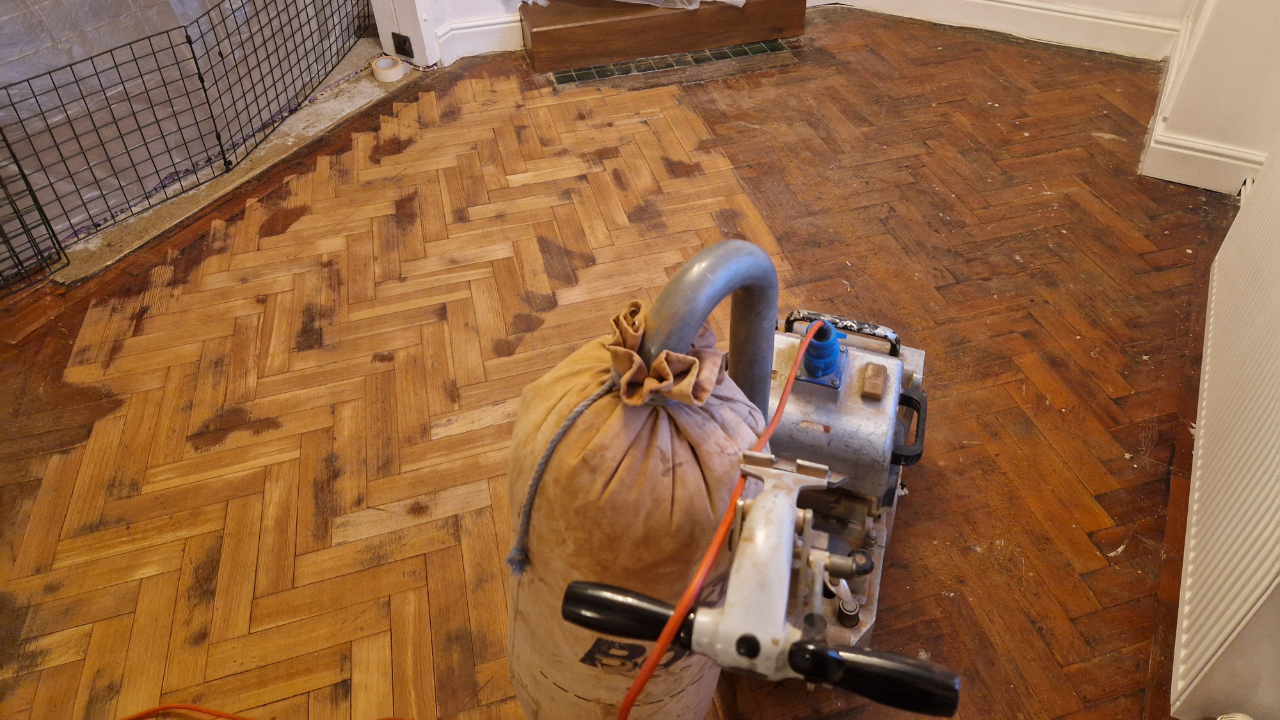
4) First diagonal cut (levelling pass)
- Fit 36/40-grit belt.
- Sand at ~45° to the pattern, choosing the direction that lets you work out of the light where possible (imperfections are easier to read with light behind you).
- Keep the machine moving and pressure consistent; your goal is flatness, not finish.
- Vacuum thoroughly.
The opening pass in Herringbone Parquet Sanding is crucial: it cuts across the “peaks” of the V and puts the whole field in one plane.
5) Opposite diagonal cut (levelling pass #2)
- Rotate your path 90° to the first pass (so the second diagonal crosses the first).
- Step up to 60-grit once all old finish is removed and the floor is uniformly matt.
- Check edges for “picture-framing” (a shiny border where the edger hasn’t yet reached).
6) Edge sanding (coarse to medium)
- Work the perimeter with the edger at 40/60 grits to merge with the machine field.
- Use a cork/rubber block and abrasive for the final 50–75 mm so the transition is invisible.
7) With-the-pattern refining pass
- Now sand with the long axis of the room to align scratches and begin refining the cut.
- Use 80 or 100-grit depending on species and how aggressive your diagonals were.
- Vacuum, then inspect under raking light; remove any remaining dish marks or tramlines.
8) Fine flattening with multi-disc/RO
- Switch to a planetary/multi-disc or a quality random-orbit machine.
- Abrade with 100 then 120/150-grit screens or mesh; overlap paths by at least one-third.
- This step erases belt lines and puts a uniform scratch across both long- and cross-grain.
9) Gap filling (resin slurry)
- Collect fine sanding dust (ideally from the 100–120-grit stage—it’s colour-matched).
- Mix with a compatible resin binder to a peanut-butter consistency.
- Trowel across the whole field, forcing filler into micro-gaps between blocks and at herringbone mitres.
- Allow to cure fully.
10) De-nib and refine after filling
- Lightly abrade with 120–150-grit to remove trowel marks and leave a uniform surface.
- Re-edge lightly as needed; scrape corners.
- Vacuum meticulously, then tack off. Any dust left now will telegraph under the finish.
11) Prime/seal
- Apply a water-based sanding sealer or primer chosen to match your topcoat system and desired colour. Some primers minimise tannin pull; others warm the tone.
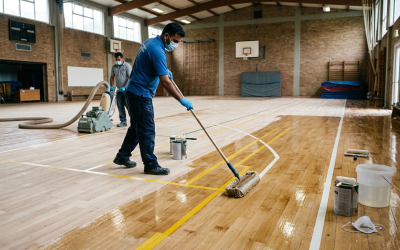
- Lay thin, even coats with a microfibre roller; keep a wet edge and work out of the light.
- Allow the correct dry time (often 1–2 hours for water-based systems).
12) Intercoat abrasion
- Once dry, screen with 150–180-grit mesh on the multi-disc/RO to knock back grain-raise.
- Vacuum and tack thoroughly.
13) Topcoat 1
- Roll your first topcoat (water-based lacquer for high traffic; hardwax oil for a natural feel).
- Lay off in the direction of the long axis; keep pressure even at the mitre points to avoid puddling.
- Mind your exit path!
14) Intercoat de-nib (if lacquer)
- After the first lacquer coat dries, de-nib with 180–220-grit, vacuum and tack.
- This keeps dust nibs from stacking and helps the second coat lay like glass.
15) Topcoat 2 (and 3, if specified)
- Apply the second topcoat. A third may be specified for commercial-level wear.
- Respect cure times before light foot traffic (typically 3–24 hours) and full cure (3–7 days).
Border work, thresholds, and details
- Borders & margins: Some herringbone floors have a picture frame or a double border. Sand borders with the edger and refine by hand to keep the mitre crisp—avoid rounding over the inner line where field meets border.
- Thresholds: Undercut door linings with a multi-tool for a neat transition. Where brass or wood door bars are used, pre-mask and remove later for clean, straight lines.
- Radiators & corners: A sharp cabinet scraper beats a coarse edger disk for tight curves; finish with 120-grit by hand to merge the scratch.

Finishing choices: look, feel, and longevity
Your choice of finish drives the final look and maintenance routine:
- Water-based lacquer (matt to gloss):
- Pros: High clarity, excellent wear, quick dry, low odour, easy maintenance.
- Cons: Can feel a touch “hard” underfoot; darker species may look slightly cooler unless you use a warm primer.
- Hardwax oil (matt/satin):
- Pros: Superb natural feel, spot-repairable, charming low-sheen aesthetic.
- Cons: Needs periodic top-ups; early water sensitivity during cure; slightly more maintenance.
- Colour work: If you’re toning the oak (e.g., a Nordic white or a deeper smoked look), do your colour treatment before the first topcoat and be extra meticulous with sanding uniformity; any uneven scratch will telegraph as blotchiness. Done well, a great finish is the signature that caps your Herringbone Parquet Sanding work.
Aftercare: keeping the floor perfect
- Cure period: Treat the floor gently for the first week. Fit felt pads to furniture. Avoid rugs for 7–10 days with lacquer (longer with oil).
- Routine cleaning: Dry microfibre dusting daily/weekly depending on traffic; damp mop with a pH-neutral wood-floor cleaner. Avoid steam mops.
- Refresher coats: A maintenance lacquer or oil refresh every few years extends life immeasurably and delays the need for a full re-sand.

Timings, dust, and disruption—what to expect
- Typical flat: 20–35 m² of herringbone may take 1.5–3 days depending on repairs, filling, and the finish chosen.
- Dust: Modern extraction dramatically reduces dust, but you should still expect light settling on high surfaces; a post-works clean is sensible.
- Noise: Belt sanders and edgers are loud; warn neighbours if you’re in a flat.
- Odour: Water-based systems are low-odour; hardwax oils have a natural solvent smell that dissipates as they cure.
Common mistakes (and how to avoid them)
- Skipping the diagonal: Going straight to with-the-pattern passes leaves highs and lows; the floor will look wavy in reflected light.
- Too-fast grit progression: Jumping from 40 to 100-grit leaves deep scratches that only show after coating. Use 40 → 60 → 80/100 as a minimum.
- Over-edging the perimeter: That “dish” around edges is a tell. Keep the edger flat, blend by hand, and finish with a multi-disc to merge.
- Poor dust control during coating: Nibs and pimples are nearly always airborne dust or a dirty roller. Vacuum methodically; tack between coats.
- Ignoring movement: If blocks are loose, no finish will stop them telegraphing. Stabilise first, sand second.
- Filling too early or too late: Fill after initial flattening but before fine refinement, so the slurry bonds and sands flush.
Troubleshooting guide
- White lines between blocks (lacquer jobs): Usually moisture trapped or movement; ensure humidity control and consider an elastic primer.
- Tannin pull/ambering: Choose primers designed to block tannin bleed on oak; test on a small area before committing.
- Bitumen staining: Old black adhesive can smear under heat; use fresh abrasives, keep passes light, and clean belts frequently.
- Swirl marks: Often from a dirty pad or too-coarse screen at the end. Finish at 150–180-grit and vacuum thoroughly.
DIY or pro?
You can hire machines, but herringbone is unforgiving. A professional brings:
- The discipline of sequence (where most DIY jobs go wrong).
- Correct machine setup (belt tracking, platen pressure, fresh abrasives).
- Experienced eyes that spot problems early—loose blocks, proud edges, or coating hazards.
If you’re determined to DIY, practise on a spare room first and budget extra abrasives—you’ll use more than you expect.
Quick reference: grit roadmap
- Levelling: 36/40 (diagonal 1) → 60 (diagonal 2)
- Refining: 80/100 (with long axis)
- Flatten & blend: 100 → 120/150 (multi-disc/RO)
- Intercoat (lacquer): 150/180–220
- Hand work: 120 for corners/mitres; finish with the same scratch as the field
Frequently asked questions
Will sanding make the pattern less crisp?
No—done correctly it sharpens it. Crisp mitres come from a flat field and careful edge work, not from leaving old finish in the joints.
How long before I can put furniture back?
With water-based lacquer, light placement is often possible after 24 hours; felt pads are mandatory. With hardwax oil, allow longer and avoid rugs until fully cured.
Can you stain herringbone darker or lighter?
Yes, but colour work magnifies sanding quality. Any unevenness in scratch or pressure will show as shade variation. Always test boards in a wardrobe or spare block first.
Will gap filling crack?
Micro-gaps filled with resin dust-mix are stable on a well-bonded field. Large, structural gaps or loose blocks need proper repairs, not filler.
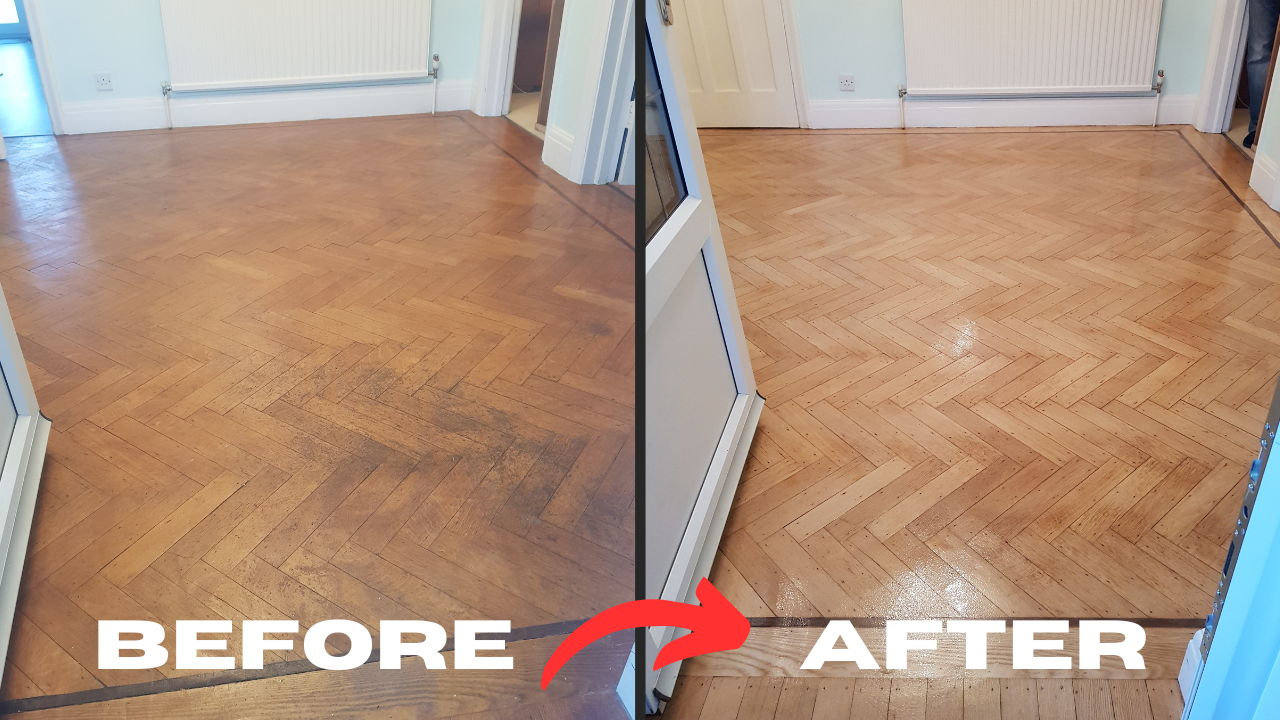
The polished result
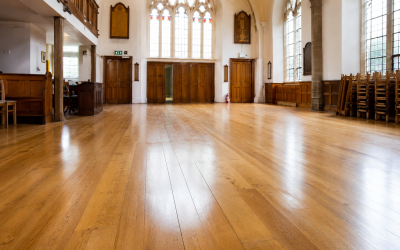
Executed with patience and the right sequence, herringbone parquet transforms from dull and uneven to sharp, flat, and characterful. The diagonal levelling passes deliver geometry; the with-the-pattern refinements bring clarity; and a well-chosen finish locks in colour and protects the surface for years.
If you’d like expert Herringbone Parquet Sanding in and around East Barnet—or simply want a professional to check your floor before you begin—book a survey and get a plan tailored to your home, timeline, and preferred finish.