Key Takeaways
- Victorian pine is softer than oak or hardwood — it demands a tailored sanding sequence starting with 40-grit Zirconia abrasives to level uneven, cupped boards without gouging the softer grain.
- Tannin pull and grain raising are the two most common issues when finishing old pine — both are preventable with the right primer and moisture-control steps before sealing.
- Water popping (dampening bare timber before staining) dramatically improves colour penetration and uniformity, but must be done correctly or it causes blotchiness.
- Heritage restoration preserves character — knots, colour variation and patina are features, not flaws. A skilled tradesman works with the timber, not against it.
- Budget wisely: a full Victorian hallway restoration (sanding, gap filling, staining and three coats of finish) typically costs a fraction of replacement and adds genuine value to your property.
The Problem: Why Victorian Pine Floors Deteriorate
Across East Barnet and North London, thousands of Victorian and Edwardian terraced houses sit atop original pine floorboards — many of them 100 to 150 years old. These boards were milled from slow-grown Scandinavian or Baltic pine, dense and resinous when first laid. But a century of foot traffic, carpet tacks, radiator heat and rising damp has taken its toll.
If you have pulled up a carpet in a period property recently, you will recognise the scene: blackened varnish, hammer-pocked surfaces, gaps wide enough to post a coin through and boards that cup, twist or rock underfoot. Perhaps there are paint splashes from a long-forgotten decorating job, or the ghostly outline of a fireplace hearth removed decades ago. The timber looks ruined — but looks are deceiving.
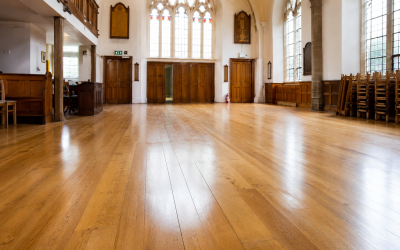
The truth is that Victorian pine, for all its battle scars, is almost always restorable. Unlike modern softwood, these boards were often quarter-sawn and have remarkable structural integrity. What they need is not replacement, but heritage restoration — a process that respects the character of the timber whilst transforming its surface into something beautiful, durable and unmistakably authentic.
The Agitation: What Goes Wrong with DIY and Inexperienced Tradesmen
Victorian pine restoration is a specialist discipline. Unfortunately, many homeowners either attempt it themselves or hire general decorators who lack the specific knowledge required. The result is predictable and costly:
- Over-sanding with aggressive grits — pine is considerably softer than oak. A drum sander fitted with coarse aluminium-oxide paper can remove 2–3 mm of material in a single pass, cutting through the dense patina into soft, featureless wood. The boards end up thinner, bouncier, and lacking the very character you wanted to preserve.
- Ignoring moisture content — old pine in ground-floor rooms regularly reads 12–16% on a pin meter, especially in UK properties without damp-proof courses. Applying a lacquer or oil over timber above 12% traps moisture, causing milky discolouration, peeling and eventual failure of the finish.
- Tannin pull disasters — pine is rich in tannins and resins. When a water-based finish is applied directly, these tannins bleed to the surface, creating unsightly dark stains around knots and in the softer earlywood. Without a proper priming strategy, the finish looks patchy and unprofessional.
- Poor gap filling — Victorian boards shrink seasonally. Filling with rigid epoxy or cement-based products creates a floor that cracks every winter. The correct approach uses flexible, resin-based fillers or — for gaps wider than 3 mm — reclaimed pine slivers that move with the timber.
The worst outcome? A floor so badly damaged by amateur sanding that it genuinely does need replacing — turning a £2,000 restoration into a £10,000 problem, plus VAT.
The Solution: Professional Victorian Pine Floor Restoration — Step by Step
At East Barnet Floor Sanding, we have restored hundreds of period pine floors across North London and Hertfordshire. Below is the professional methodology we follow — and the technical detail that separates heritage restoration from a simple sand-and-seal.
1. Survey, Moisture Testing and Board Assessment
Every project begins with a thorough inspection. We check the moisture content of each room using a calibrated pin meter — readings must sit below 12% before any finish is applied. In East Barnet’s older stock, ground-floor joisted timber often reads higher during autumn and winter when UK humidity hovers around 65–80%. If readings are elevated, we advise ventilation improvements or the use of a dehumidifier before works commence.
We also assess board thickness (critical for floors that have been sanded before), check for woodworm damage, identify loose or sprung boards, and map areas where previous repairs or hearth removals have created mismatched timber. This survey shapes every decision that follows.
2. Preparation: De-nailing, Repairs and Gap Filling
Before any machine touches the floor, we systematically punch down every protruding nail and remove old carpet tacks, gripper rods and staples. Loose boards are re-secured with countersunk screws — never surface nails, which can tear sanding belts and leave visible fixings.
For boards with structural damage, we source reclaimed Victorian pine of matching width and profile. This is a specialism in itself: modern softwood is faster-grown, lighter in colour and softer in texture. Only genuine reclaimed timber blends invisibly with original floorboards.
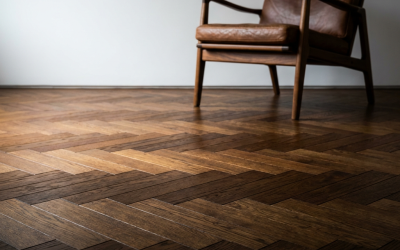
Gap filling on Victorian pine requires a flexible approach — literally. We use a resin-and-sawdust slurry (colour-matched from the sanding dust of your own floor) for gaps up to 3 mm. For wider gaps, we insert reclaimed pine slivers, glued and planed flush. This method accommodates seasonal movement without cracking, a persistent issue with rigid fillers. For more detail on our gap-filling methods and pricing, see our parquet floor restoration guide, which covers similar techniques in a different context.
3. The Sanding Sequence: Zirconia, Grit Progression and Dust Extraction
This is where experience and equipment make all the difference. Victorian pine presents a unique challenge: the surface is uneven (cupped, bowed, ridged at joints), coated in multiple layers of old varnish or paint, yet the underlying timber is soft and easily scarred.
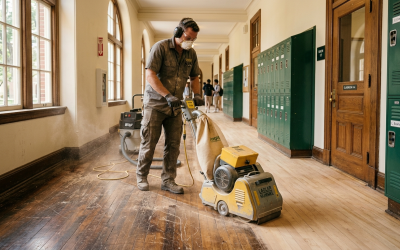
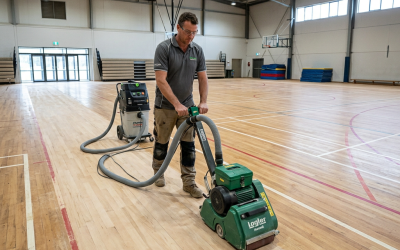
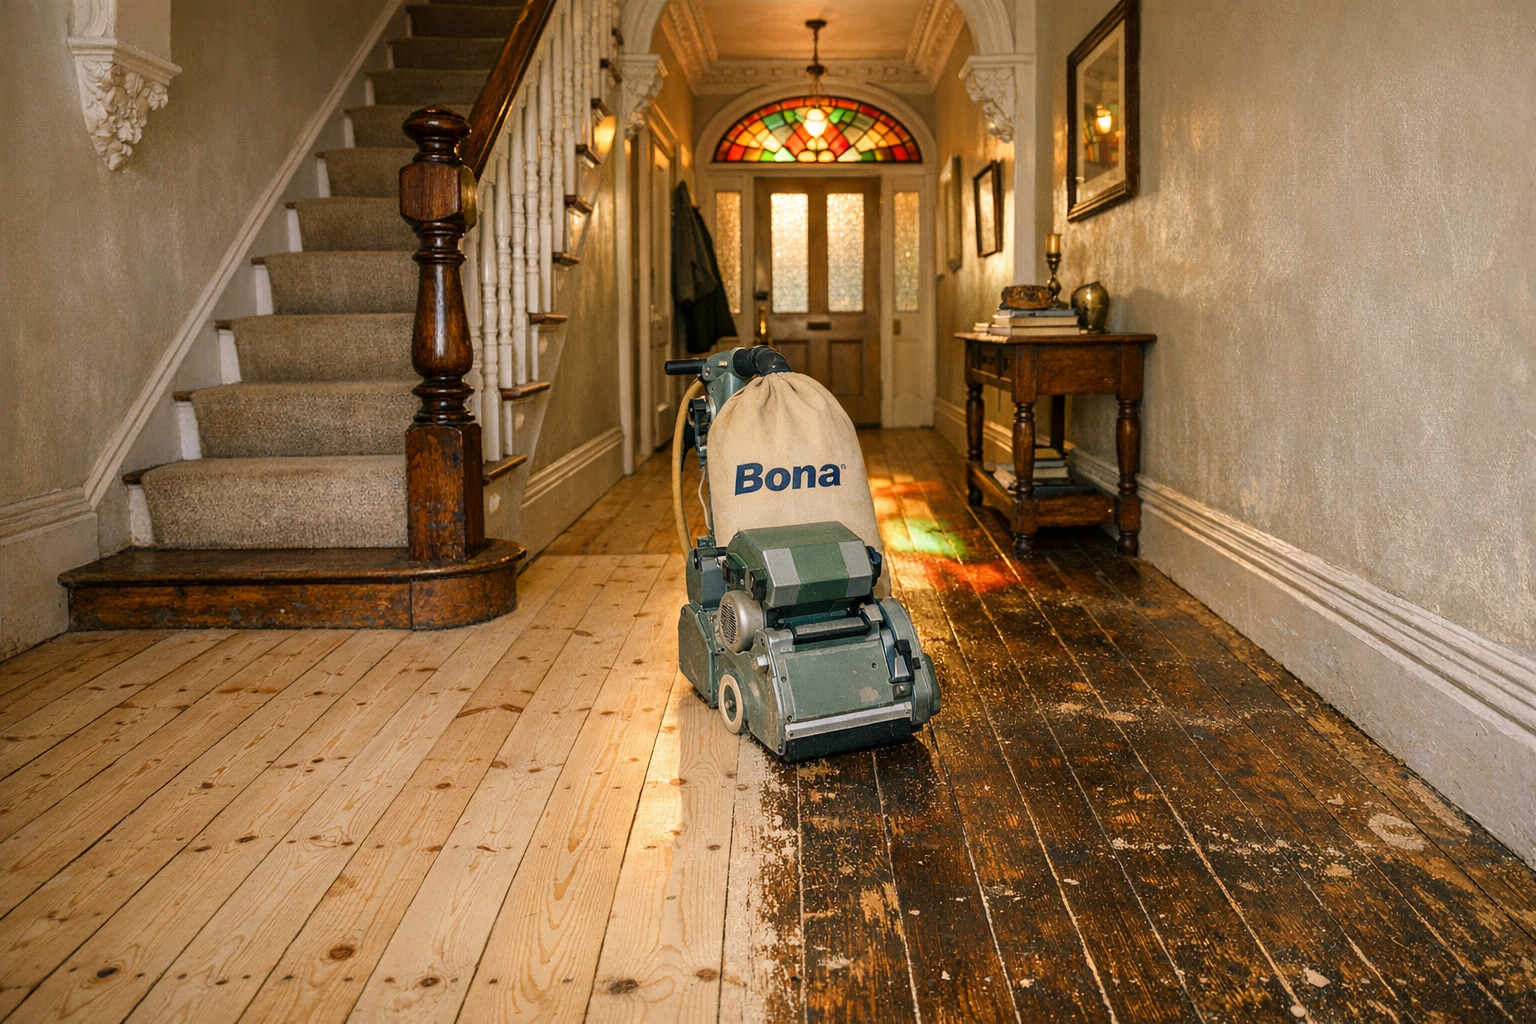
Pro-Tip — Grit Sequence for Uneven Victorian Pine: We start with 40-grit Zirconia alumina belts on a professional belt sander (Bona Belt or Lagler Hummel). Zirconia is sharper and more durable than standard aluminium oxide — it cuts through old finishes and levels cupped boards without the excessive heat build-up that scorches soft pine. We then progress through 60-grit → 80-grit → 100-grit, with a final pass at 120-grit on a Bona FlexiSand rotary machine to eliminate belt marks and create a uniform scratch pattern across both hard and soft grain.
Edge sanding along skirting boards is performed with a Bona Edge or equivalent, following the same grit progression. Corners and awkward areas around radiator pipes are finished by hand with a sharp cabinet scraper and 120-grit paper. Throughout the process, dust is captured by a Bona DCS 70 vacuum dust extraction system — making the operation 99% dust-free and safe for occupied homes.
For further detail on professional sanding machinery, the National Wood Flooring Association (NWFA) provides excellent technical resources on best-practice abrasive sequences and equipment standards.
4. Water Popping and Grain Raising: The Secret to Even Stain Absorption
If the homeowner wants to change the colour of their pine — perhaps warming it to a honey tone or darkening it to mimic aged oak — the bare timber must be prepared with a technique called water popping (also known as grain raising).
Pine has alternating bands of hard latewood and soft earlywood. Without preparation, stain soaks deeply into the soft bands and barely penetrates the hard ones, creating a stripy, uneven finish. Water popping involves dampening the freshly sanded surface with clean water using a spray bottle and microfibre applicator. This raises the grain uniformly, opening the cell structure so that stain absorbs evenly across both hard and soft zones.
Pro-Tip — Water Popping in UK Humidity: In British conditions (typically 50–70% RH indoors), water-popped pine should be left to dry for a minimum of 2–4 hours before staining. If the room is poorly ventilated or it is a damp autumn day, extend this to 6–8 hours or use a dehumidifier. Staining over insufficiently dried, water-popped timber creates blotchiness that is virtually impossible to correct without re-sanding.
5. Tackling Tannin Pull on Victorian Pine
Tannin pull is the bane of pine finishing. When water-based lacquers or sealers contact raw pine, they draw tannins and resins to the surface, creating dark brown or amber halos around knots and along resinous grain lines. On Victorian pine — which has had over a century for resins to concentrate — the effect can be dramatic and deeply frustrating.
The professional solution is a dedicated tannin-blocking primer. Products such as Bona Rich Tone or a shellac-based sanding sealer create a barrier between the raw timber and the water-based topcoat, preventing resin migration. The primer is applied in a thin, even coat, allowed to dry (typically 1–2 hours at 20°C), then lightly abraded with 150-grit mesh before the first topcoat.
Alternatively, if the homeowner prefers a natural, oiled finish, products like Osmo Polyx-Oil are solvent-based and do not trigger tannin pull in the same way. This makes hardwax oil a popular choice for period properties where a warm, low-sheen look is desired.
6. Finishing: Water-Based Lacquer vs Hardwax Oil for Heritage Pine
The choice of finish is both aesthetic and practical. Here is how the two main options compare for Victorian pine in typical UK domestic conditions:
Water-Based Lacquer (e.g., Bona Traffic HD):
- Apply 1 coat of tannin-blocking primer + 2–3 coats of lacquer.
- Intercoat drying: 2–3 hours at 20°C and 50% RH.
- Light foot traffic: 24 hours after final coat.
- Full cure: 7 days (avoid rugs, heavy furniture, wet mopping).
- Appearance: clear, non-yellowing, available in matt, silk and gloss.
- Durability: exceptional — ideal for busy hallways and family homes.
Hardwax Oil (e.g., Osmo Polyx-Oil Original):
- Apply 2 coats, buffing between with a white pad.
- Intercoat drying: 8–12 hours (longer in UK winter when humidity is high).
- Light foot traffic: 24 hours after second coat.
- Full cure: 10–14 days in typical UK conditions.
- Appearance: warm, natural, enhances pine’s amber tones beautifully.
- Maintenance: spot-repairable — scratches can be rubbed back and re-oiled without sanding the whole floor.
Pro-Tip — Curing in UK Humidity: British homes rarely maintain the 50% RH / 20°C ideal. In winter, central heating drops humidity to 30–40%, which accelerates curing but can cause boards to shrink and gaps to open. In summer, humidity may exceed 65%, slowing cure times significantly. For Osmo Polyx-Oil, allow a full 14 days before placing rugs. For Bona Traffic HD, ensure the room is ventilated and at least 18°C during application — cold floors in unheated Victorian rooms can cause the lacquer to cure milky.
What Makes Victorian Pine Restoration Different from Hardwood Sanding?
Oak, walnut and other hardwoods are dense, stable and relatively forgiving. Pine is none of these things. It is softer (roughly 1,660 Janka vs oak’s 5,600), more resinous, more prone to denting, and more reactive to moisture. Every step of the process — from grit selection to finish chemistry — must be adapted accordingly.
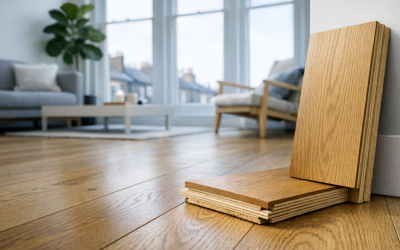
This is why we always recommend homeowners research the difference before committing to a contractor. Our hardwood floor sanding guide explains the standard process for oak and engineered timber, and comparing the two approaches illustrates just how different pine restoration truly is.
Costs, VAT and What to Expect
A typical Victorian hallway in East Barnet (approximately 8–12 m²) can be fully restored — sanded, gap-filled, primed and finished with three coats of lacquer or two coats of hardwax oil — in 2–3 days. Pricing varies depending on the condition of the boards, the extent of repairs needed and the finish chosen, but as a guide:
- Sanding and 4 coats of clear lacquer: from £25.00 per m² (plus VAT)
- Sanding and 2 coats of hardwax oil: from £27.00 per m² (plus VAT)
- Gap filling (resin slurry): from £8.00 per m² (plus VAT)
- Staining/colour change: from £8.00 per m² per coat (plus VAT)
- Reclaimed pine sliver gap filling: from £14.00 per m² (plus VAT)
Compare this with the cost of sourcing and fitting reclaimed Victorian pine boards (typically £80–£120 per m² installed, plus VAT), and the financial case for restoration is overwhelming.
Frequently Asked Questions
Can very old, thin pine boards still be sanded?
In most cases, yes. Victorian boards were typically 20–22 mm thick when new. Even after one or two previous sandings, there is usually sufficient material for a careful restoration. We measure board thickness during our survey and will advise honestly if boards are too thin to sand safely.
Will the floor look uniform after sanding?
No — and that is the beauty of it. Victorian pine develops a natural colour variation over decades: heartwood darkens, sapwood stays lighter, knots develop character. A skilled restoration embraces this patina rather than trying to eliminate it. If you prefer a more uniform look, staining can even out tonal differences significantly.
How long does the finish last on pine?
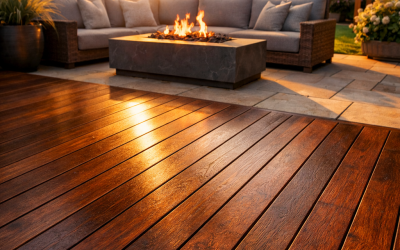
With proper aftercare, a lacquered pine floor in a domestic hallway should last 8–12 years before needing a maintenance recoat. An oiled floor may need a top-up every 3–5 years in high-traffic areas, but this is a simple, non-disruptive process that does not require full re-sanding. Our deck sanding guide covers similar maintenance principles for exterior timber, demonstrating how proper aftercare extends the life of any wooden surface.
Ready to Restore Your Victorian Pine Floors?
If you own a period property in East Barnet, Barnet, New Barnet, Cockfosters, Oakleigh Park or the surrounding areas and your original pine floorboards are hidden beneath carpet, covered in old paint or simply looking tired, we can help. Our heritage restoration service is designed specifically for the challenges of Victorian and Edwardian softwood — from tannin management and flexible gap filling to dust-free sanding with Bona professional equipment.
Contact East Barnet Floor Sanding today to arrange your free, no-obligation survey. Let us show you what is hiding beneath your floors — and bring a century of character back to life.