Key Takeaways
- The first 7–14 days after finishing are critical — most floor damage occurs during the cure period, not years later. Understanding the difference between ‘dry’ and ‘cured’ saves expensive call-backs.
- Water-based lacquer (Bona Traffic HD) and hardwax oil (Osmo Polyx-Oil) have completely different aftercare regimes — using the wrong products or methods for your finish type will void the tradesman’s guarantee and degrade the surface prematurely.
- UK humidity fluctuations (30–40% in winter with central heating, 60–75% in summer) cause timber to shrink and swell seasonally. Managing indoor humidity is as important as cleaning.
- A professional maintenance recoat every 5–8 years (lacquer) or 2–4 years (oil) extends the life of your floor by decades — and costs a fraction of a full re-sand.
- Most everyday damage is preventable with three simple measures: felt pads on furniture, doormats at every entrance, and the correct cleaning product for your finish.
The Problem: Beautiful Floors That Deteriorate Too Quickly
You have invested in professional floor sanding and refinishing in East Barnet — perhaps a full restoration of Victorian pine floorboards, a parquet renovation, or a fresh finish on engineered oak. The floor looks magnificent. The tradesmen have packed up and left. And now comes the question that determines whether your floor looks stunning for three years or fifteen: what do you do next?
The uncomfortable truth is that the majority of premature floor finish failures are caused not by poor workmanship, but by incorrect aftercare. Homeowners who mop with household cleaners, drag furniture across freshly sealed surfaces, lay rugs before the finish has fully cured, or — worst of all — use a steam mop on oiled timber are, quite literally, undoing thousands of pounds’ worth of professional work.
This guide provides the definitive aftercare protocol for both lacquered and oiled wood floors, written from the perspective of tradesmen who restore floors daily and see first-hand what extends their life — and what destroys it.
The Agitation: Common Aftercare Mistakes That Ruin Wood Floors
Before diving into what you should do, it is worth understanding what goes wrong most often. These are the aftercare errors we encounter repeatedly across East Barnet, North London and beyond:
- Walking on the floor too soon — a lacquered floor may feel dry after 4 hours, but it is not cured. The lacquer’s polymer chains are still cross-linking. Walking in shoes, especially heels, during this phase leaves permanent impressions in the soft film.
- Placing rugs before full cure — rugs trap solvents and moisture beneath them, preventing proper curing. On oiled floors, this creates dark patches that are extremely difficult to reverse. On lacquered floors, it can cause cloudiness or adhesion failure.
- Using household cleaning products — standard floor cleaners, washing-up liquid, vinegar solutions and multi-surface sprays contain surfactants, acids or alkalis that strip protective coatings. They may leave the floor ‘clean’ but progressively destroy the finish’s integrity.
- Steam mopping — this is perhaps the single most damaging thing you can do to any wood floor finish. Steam forces moisture and heat deep into the timber, causing grain raising, swelling, whitening of lacquer films and catastrophic delamination of oiled surfaces. Never steam mop a wooden floor.
- Ignoring humidity — in the UK, central heating in winter can drop indoor humidity to 25–35%, causing floorboards to shrink and gaps to open. In summer, humidity may exceed 65%, causing swelling and cupping. Both extremes stress the finish and the timber beneath it.
- Dragging furniture — a single dining chair dragged across a freshly lacquered floor creates a scratch that cuts through the topcoat into the primer. Multiply this by four chairs, twice a day, for a year, and the finish in the dining area is ruined long before the rest of the room.
The Solution: Your Complete Wood Floor Aftercare Guide
Aftercare is not complicated, but it is specific. The correct routine depends entirely on your finish type. Below, we break it down for the two most common professional finishes used in East Barnet homes and commercial properties.
Part 1: Aftercare for Water-Based Lacquered Floors (Bona Traffic HD, Bona Mega, Loba Supra)
The Critical Cure Period: Days 1–7
Water-based lacquers like Bona Traffic HD are touch-dry within 3–4 hours, but the chemical cross-linking process continues for a full week. During this period:
- Day 1 (0–24 hours): No foot traffic at all. Keep the room closed, ventilated via windows (not fans blowing dust onto the surface), and at a minimum of 18°C.
- Days 2–3: Light foot traffic in clean socks only. No shoes, no pets, no children running. Place felt pads on any furniture that must be returned to the room.
- Days 3–5: Normal sock-footed traffic is fine. You may carefully place lightweight furniture with felt pads. Do not drag anything — lift and place.
- Days 5–7: The floor can tolerate normal domestic traffic. Shoes are acceptable but avoid stilettos, football boots and heavy work boots. No wet mopping yet.
- Day 7+: Full cure is reached (at 20°C / 50% RH). Rugs may be placed, all furniture returned, and normal cleaning can commence.
Pro-Tip — Bona Traffic HD Cure in Cold Rooms: In UK winter conditions, unheated rooms (spare bedrooms, hallways near front doors) may sit at 12–15°C. At these temperatures, Bona Traffic HD’s cure time extends to 10–14 days. If you cannot heat the space, inform your floor sanding contractor — they may recommend a faster-curing alternative such as Bona Traffic Natural or adjust the application schedule to maximise warm-weather curing.
Ongoing Cleaning: The Correct Method
- Daily/weekly dusting: Use a dry microfibre mop or a vacuum cleaner with a hard-floor attachment (brush bar off). Fine grit and sand act as abrasives underfoot, gradually scratching the lacquer. Regular removal of grit is the single most effective maintenance step.
- Periodic damp mopping: Every 1–2 weeks (or more often in high-traffic areas), mop with a well-wrung microfibre pad and a pH-neutral wood floor cleaner. Bona Cleaner is specifically formulated for lacquered floors — it cleans without leaving residue or stripping the finish. Dilute as per the manufacturer’s instructions.
- Spot cleaning: Wipe spills immediately with a damp cloth. Standing water — even for 20 minutes — can penetrate the lacquer film at joints and edges, causing localised swelling and white marks.
Never use: bleach, ammonia, vinegar, washing-up liquid, Dettol, Flash, or any ‘spray and mop’ product not specifically designed for lacquered wood floors. These products strip the lacquer’s surface layer, creating a dull, patchy appearance that worsens with each clean. For further product guidance, Osmo’s official maintenance guides provide excellent manufacturer-backed advice applicable to all professional finishes.
When to Book a Maintenance Recoat
Even the toughest lacquer wears over time, particularly in high-traffic zones: hallway entrances, in front of sofas, around kitchen islands and at the foot of stairs. Signs that a maintenance recoat is due include:
- Visible wear paths where the finish has thinned
- The floor feels ‘rough’ in certain areas compared to others
- Water no longer beads on the surface but is absorbed
- Fine scratches are accumulating faster than they used to
A professional maintenance recoat involves lightly abrading the existing lacquer with a buffer and 150-grit mesh (no heavy sanding), then applying 1–2 fresh coats of lacquer. This process takes one day for most rooms, costs significantly less than a full re-sand, and resets the clock for another 5–8 years. Our hardwood floor sanding guide covers the full restoration process if the floor has deteriorated beyond the point where a recoat is sufficient.
Part 2: Aftercare for Hardwax Oil Floors (Osmo Polyx-Oil, Blanchon Hard Wax Oil, Loba Impact Oil)
The Critical Cure Period: Days 1–14
Hardwax oils cure by oxidation — they absorb oxygen from the air to harden. This process is significantly slower than lacquer curing and is heavily influenced by temperature and humidity.
- Day 1 (0–24 hours): No traffic whatsoever. Ventilate well — the natural solvent in products like Osmo Polyx-Oil has a distinctive odour that dissipates as the oil cures.
- Days 2–4: Light traffic in socks only. The oil film is still soft and easily marked. Avoid placing anything on the floor.
- Days 5–7: Normal light traffic is acceptable. Felt pads on furniture legs are mandatory. The surface may still feel slightly tacky in humid conditions — this is normal.
- Days 7–14: The oil progressively hardens. By day 14 (at 20°C / 50% RH), it should be fully cured. Only then should rugs be placed, heavy furniture positioned, and normal cleaning commenced.
Pro-Tip — Osmo Cure Times in UK Humidity: Osmo Polyx-Oil Original has a minimum overcoat time of 8–12 hours and a full cure time of approximately 14 days at 23°C and 50% RH. In a typical British home during autumn (15–18°C, 60–70% RH), full cure may take up to 21 days. If the floor still smells of solvent or feels tacky after 14 days, the room is too cold or too humid. Use a dehumidifier and maintain at least 18°C until the surface hardens fully.
Ongoing Cleaning: The Correct Method
- Daily/weekly dusting: Identical to lacquered floors — dry microfibre mop or vacuum with hard-floor setting. Grit removal is even more critical on oiled floors because the surface is softer and more susceptible to micro-scratching.
- Periodic damp mopping: Use Osmo Wash & Care (diluted as per instructions) or an equivalent pH-neutral cleaner formulated for oiled floors. This product contains a small amount of wax that replenishes the oil film with each clean, maintaining the floor’s water resistance and sheen.
- Deep cleaning: Every 3–6 months, use Osmo Intensive Cleaner to remove built-up dirt and old care product residue. Follow with a light application of Osmo Liquid Wax Cleaner to restore the protective wax layer.
Critical difference from lacquer: Oiled floors are not sealed in the same way. The oil penetrates the timber and hardens within the wood cells, but the surface remains open to moisture. This means spills must be wiped immediately — within seconds, not minutes. Red wine, coffee, fruit juice and pet accidents left on an oiled floor for even 10 minutes can cause permanent staining that requires local re-sanding.
Spot Repairs: The Unique Advantage of Oil Finishes
One significant advantage of hardwax oil over lacquer is spot repairability. If an area is scratched, dented or stained, you (or your floor sanding professional) can:
- Lightly sand the affected area with 120–150-grit paper by hand
- Clean away sanding dust with a tack cloth
- Apply a thin coat of the original hardwax oil (e.g., Osmo Polyx-Oil) with a lint-free cloth
- Buff after 30 minutes to remove excess
- Allow to cure for 24 hours before foot traffic
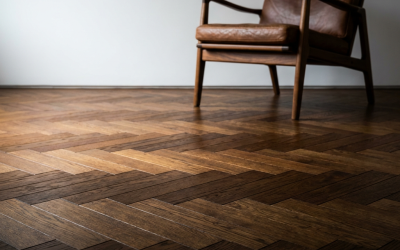
The repair blends invisibly because the oil soaks into the grain rather than sitting on top as a film. This is impossible with lacquer — any localised touch-up on a lacquered floor creates a visible ‘patch’ with a different sheen. For older oiled floors that have developed extensive wear, our parquet floor restoration guide explains how a professional full re-oil can transform the surface without a complete re-sand.
When to Book a Professional Re-Oil
Oiled floors need refreshing more frequently than lacquered ones, but the process is simpler and less disruptive. Signs that a re-oil is due:
- Water no longer beads on the surface — it soaks in and darkens the timber
- The floor looks ‘dry’ or ashy, particularly in high-traffic areas
- Cleaning no longer restores the original lustre
- The surface feels rough or fibrous in exposed zones
A professional re-oil involves a light buff with a white or maroon pad, thorough cleaning, and application of one fresh coat of hardwax oil. This typically takes half a day for a single room and extends the life of the finish by 2–4 years.
Managing Humidity: The Hidden Factor in UK Floor Care
The UK’s maritime climate creates significant humidity fluctuations that directly affect timber floors. Understanding and managing this is a core part of wood floor aftercare:
Winter (November–March): Central heating reduces indoor humidity to 25–40%. Timber loses moisture and contracts. Gaps open between floorboards — this is normal and expected, not a defect. Solid pine boards may shrink by 1–2 mm across their width. To minimise this:
- Use a hygrometer to monitor indoor humidity
- Aim to maintain 45–55% RH
- Place bowls of water near radiators or invest in a standalone humidifier
- Avoid running underfloor heating above 27°C surface temperature (the maximum recommended for most timber floors)
Summer (May–September): Humidity rises to 55–75% indoors. Timber absorbs moisture and expands. Boards may cup slightly (edges rise) or feel tighter. To manage this:
- Ensure good ventilation — open windows regularly
- Use a dehumidifier in particularly humid rooms (ground-floor kitchens, bathrooms adjacent to timber-floored rooms)
- Do not leave wet items (shoes, umbrellas, dog towels) standing on the floor
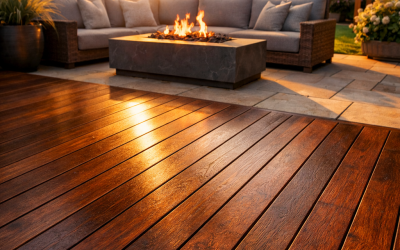
Seasonal movement is a natural characteristic of timber, not a failing. A floor that has been properly acclimatised, sanded and finished will accommodate minor movement without damage. However, extreme humidity swings — particularly in poorly ventilated ground-floor rooms in East Barnet’s older housing stock — can stress both the timber and its finish beyond acceptable limits. Our deck sanding guide explores moisture management from an exterior perspective, reinforcing how critical humidity control is for all wooden surfaces.
The Essential Aftercare Toolkit
Every homeowner with a professionally finished wood floor should have these items to hand:
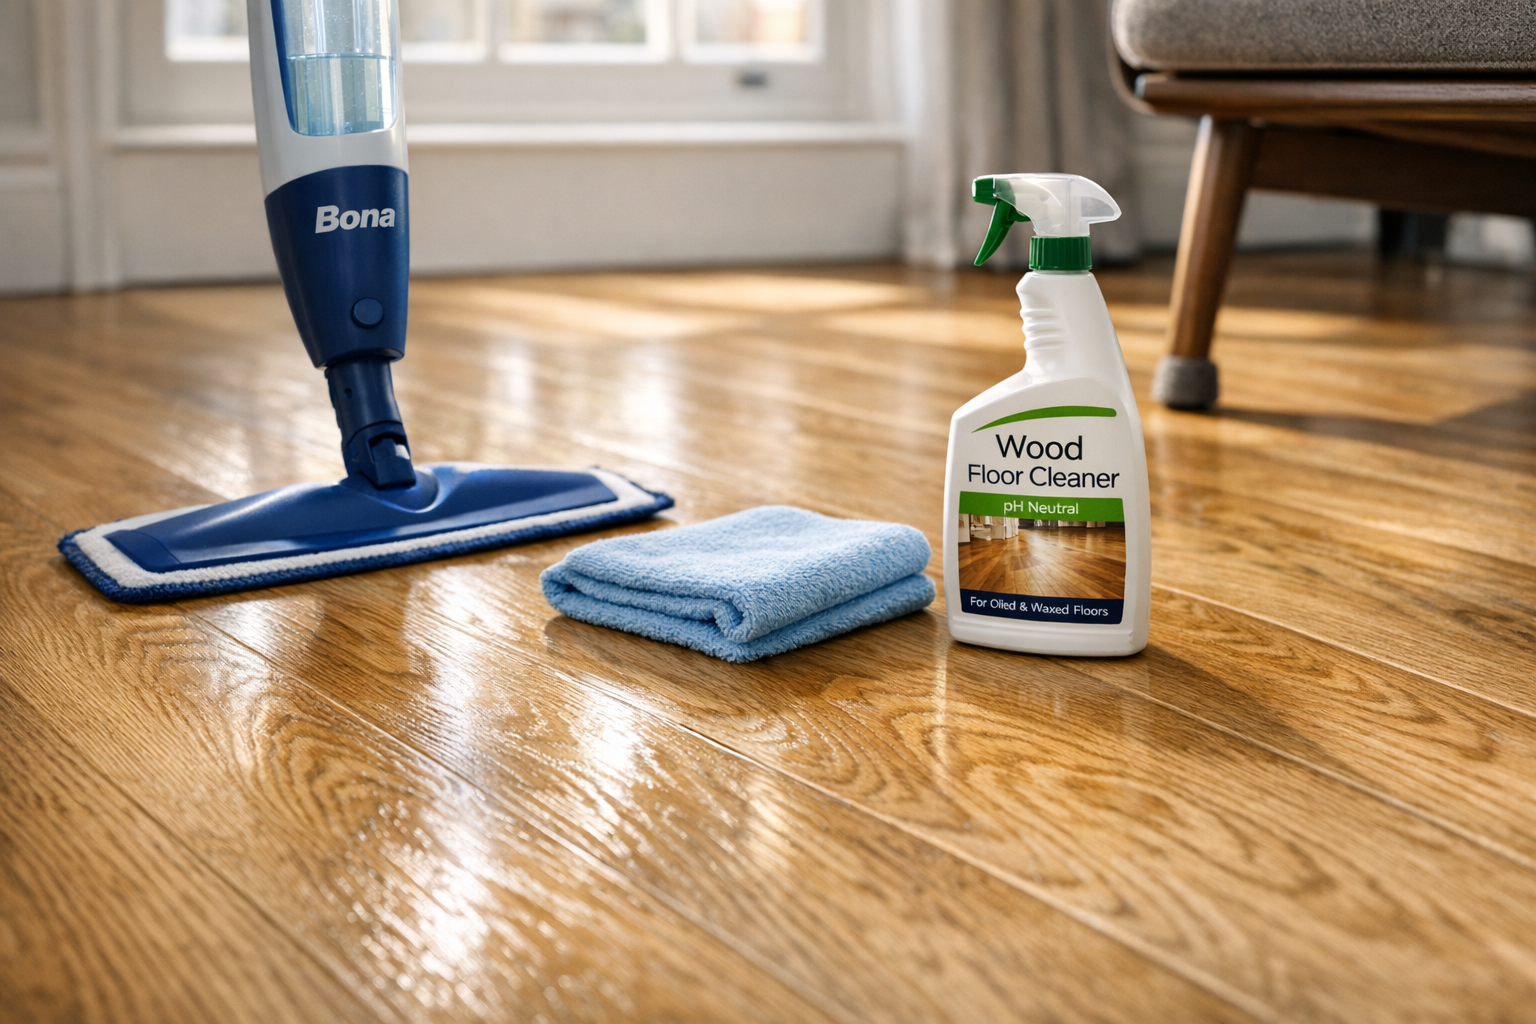
- Microfibre dust mop (e.g., Bona Premium Spray Mop) — for daily grit removal
- pH-neutral wood floor cleaner — Bona Cleaner for lacquered floors; Osmo Wash & Care for oiled floors
- Felt furniture pads — self-adhesive, applied to every chair, table, sofa and cabinet leg. Replace every 6–12 months as they compress and collect grit
- Doormats — coir or bristle on the outside; absorbent fabric on the inside. At every entrance, without exception
- Hygrometer — a simple digital humidity meter (under £10) to monitor indoor conditions year-round
- Touch-up oil (oiled floors only) — a small tin of the original product (e.g., Osmo Polyx-Oil in your chosen finish) for minor spot repairs
Water-Based Lacquer vs Hardwax Oil: Aftercare Comparison at a Glance
Full cure time: Lacquer 7 days | Oil 14–21 days (UK conditions)
Rug placement: Lacquer after 7 days | Oil after 14 days minimum
Daily cleaning: Dry microfibre mop (both)
Damp mopping product: Bona Cleaner (lacquer) | Osmo Wash & Care (oil)
Steam mopping: Never (both)
Spill response: Wipe within minutes (lacquer) | Wipe within seconds (oil)
Spot repair: Not possible without visible patching (lacquer) | Fully repairable invisibly (oil)
Professional recoat interval: 5–8 years (lacquer) | 2–4 years (oil)
Full re-sand interval: 10–15+ years (lacquer) | 8–12 years (oil)
Frequently Asked Questions
Can I use a robot vacuum on my wood floor?
Yes — robot vacuums are excellent for daily grit removal, provided they use a soft roller or suction-only mode (no rotating bristle bars). Ensure the unit does not use a wet-mopping function with non-approved cleaning solution.
My lacquered floor has gone cloudy in patches. What happened?
Cloudiness (whitening) is almost always caused by moisture trapped beneath or within the lacquer film. Common causes include: mopping too wet, placing rugs before full cure, spills left standing, or steam mopping. Mild cases can sometimes be buffed out and recoated; severe cases may require localised re-sanding.
How do I know which finish is on my floor?
If your floor has a visible, glossy or satin film sitting on the surface, it is lacquered. If the floor has a more natural, tactile feel where you can sense the wood grain directly, it is oiled. A simple test: place a drop of water on the surface. If it beads and sits on top, the floor is lacquered. If it is absorbed within 1–2 minutes, the floor is oiled. Your floor sanding contractor should have advised you on the finish type and left care instructions — if they did not, contact them to confirm.
Is underfloor heating safe with wood floors?
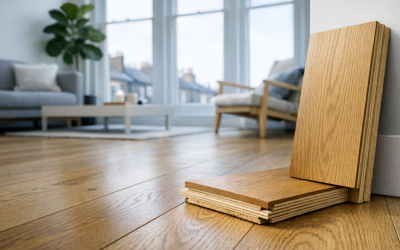
Yes, provided the surface temperature does not exceed 27°C and the heating is brought up and down gradually (no more than 1–2°C per day). Underfloor heating does reduce indoor humidity, so a humidifier is strongly recommended during the heating season. Engineered boards are more dimensionally stable than solid timber and are generally the better choice over UFH. For more on how we approach engineered and solid parquet sanding, including UFH considerations, see our detailed technical guide.
Protect Your Investment — Start Your Aftercare Right
A professionally sanded and finished wood floor is one of the best investments you can make in your East Barnet home or commercial property. With the correct aftercare, it will reward you with decades of beauty, warmth and character. With the wrong aftercare, even the finest finish can deteriorate within a few short years.
If you are unsure about your current aftercare routine, need advice on the correct cleaning products for your finish, or suspect your floor is due for a maintenance recoat, contact East Barnet Floor Sanding today. We offer free aftercare consultations for all our customers — and honest advice for everyone else. Your floors deserve it.